Thinking about getting a leg tattoo? You’re not alone. Leg tattoos are one of the most flexible options out there.
You’ve got space to work with—enough for something big, bold, or even a full sleeve. Or you can keep it simple with something small and meaningful.
In this blog, you’ll find ideas to help you figure out where it might look best.
You’ll also get a clear view of the most popular tattoo styles, how much different designs cost, and what to expect when it comes to pain.
There’s advice for healing, care tips, and even insight from artists. If you’re ready to plan the right tattoo for you, this guide can help you feel sure about it.
Choosing the Right Spot: Leg Tattoo Placement Ideas
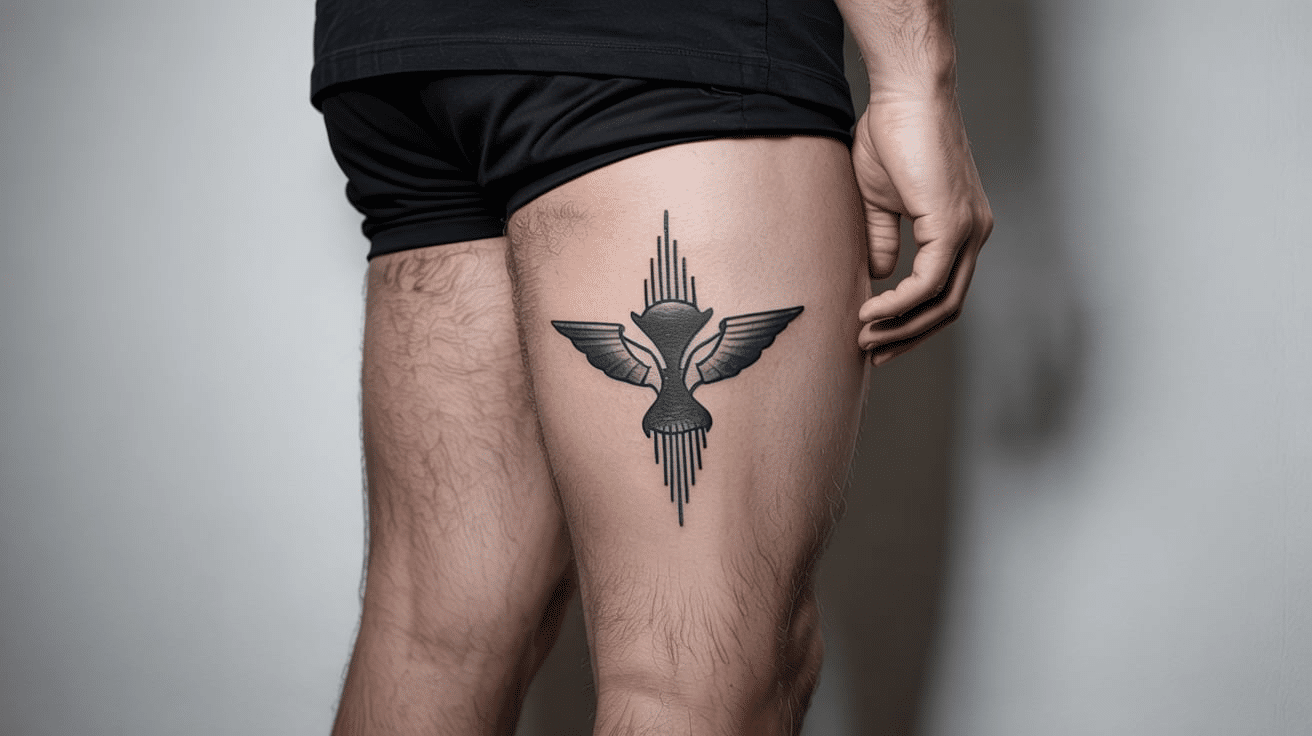
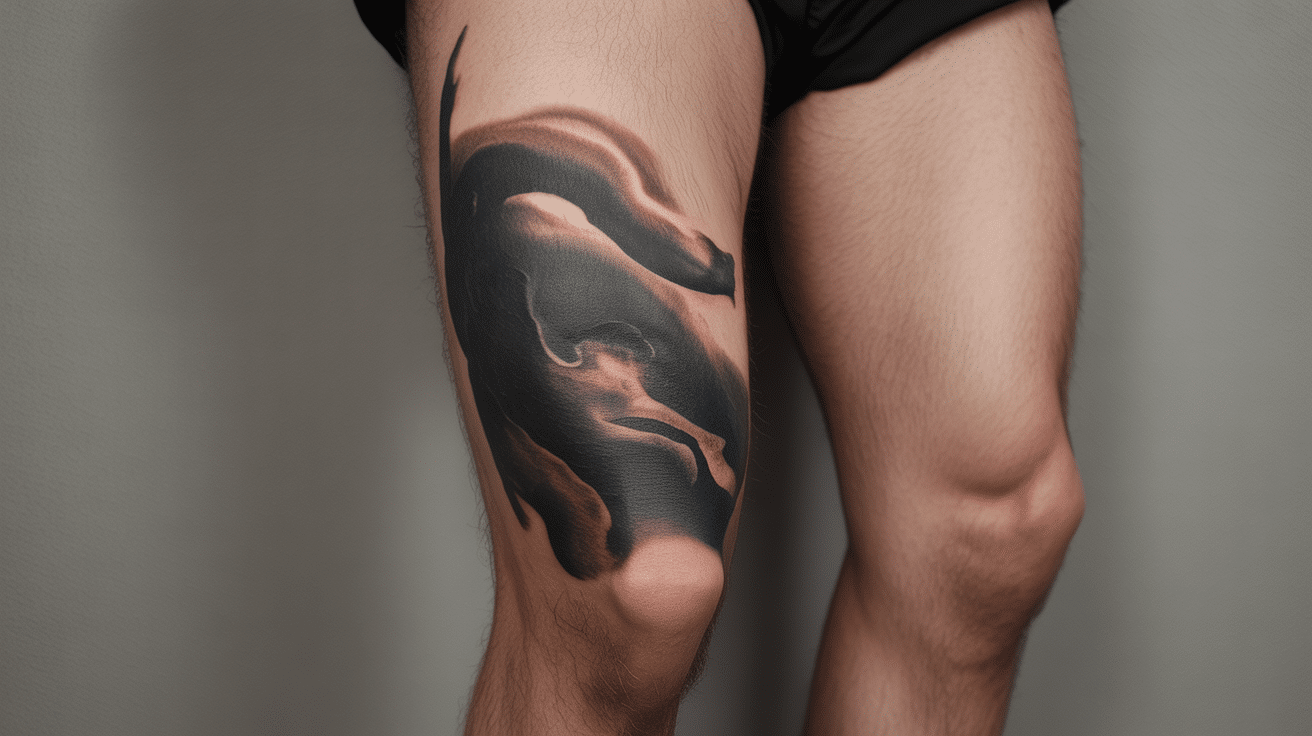
1. Upper Leg
You get a wide, flat space that’s easy to cover with clothing. It’s great for larger tattoos that hold detail without needing to be shown all the time.
Artists often like this area because it offers room to work without too many curves. Healing here is also smoother since clothing doesn’t rub as much.
The top of the leg stays soft over time, which helps keep the design clear. It’s also a good spot if you sit a lot for work or travel often.
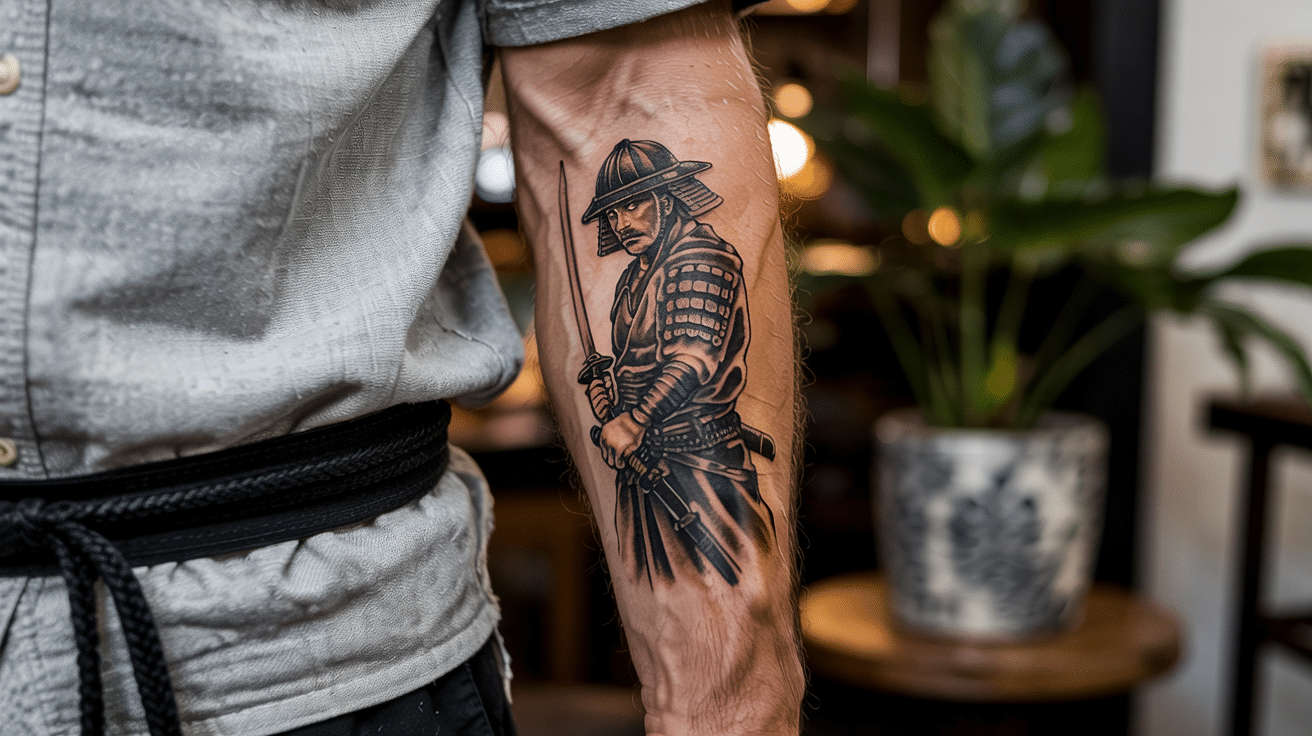
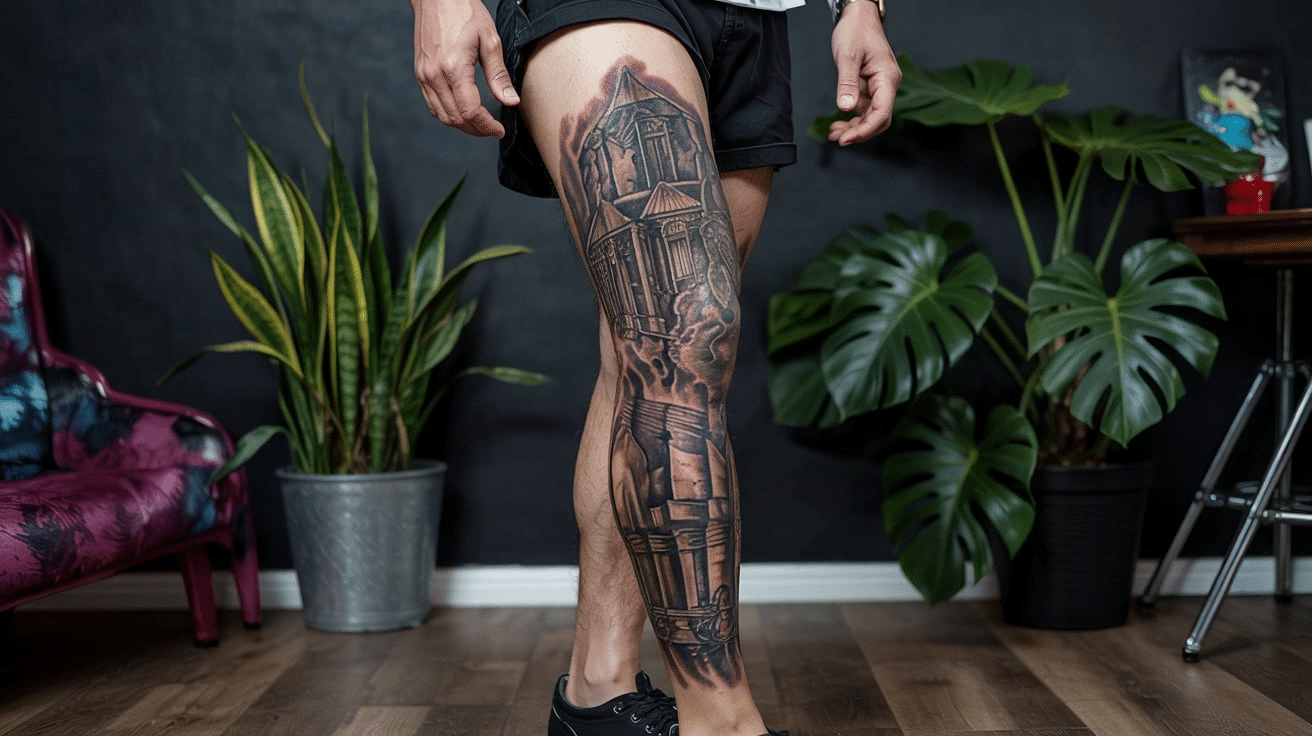
2. Lower Leg

This area works well if you want a tattoo that’s easy to show. It’s also perfect for tall designs that stretch from ankle to knee.
The lower leg gives your tattoo a strong presence, especially when wearing shorts.
It’s also a spot that many athletes and performers choose. There’s less movement on the skin here, which can help tattoos age well.
3. Side of the Leg

A smart spot for a first tattoo. You can start small and build more over time. The side is often used for flowy or curved patterns.
It works with almost every style, from detailed art to bold shapes. It’s easy to cover if needed, and gives you room to explore larger ideas later.
4. Front of the Leg

This spot stands out fast. Even small tattoos catch attention here because they face forward and get seen as you walk.
The front of the leg also works well for narrow designs like flames, vines, or arrows.
It’s an easy spot to check on during healing. Most artists find it simple to work with because of the flat shape.
5. Full Leg
From hip to ankle, this is for people who want to go all in. It takes time and planning, but the payoff is big.
You can combine styles, stories, or themes across the whole leg. This area allows deep detail and color blending, too.
It gives your artist space to create designs that feel connected.
6. Leg Sleeve
Like a sleeve on your arm, this wraps around your leg. It works best when you have a theme or group of related designs.
A leg sleeve gives you freedom to mix symbols, patterns, and colors. The flow matters, so a good plan helps.
Leg sleeves can take multiple sessions, so prepare for long-term work.
7. Back of Thigh
Hidden and quiet, this space is good for messages or humor that only a few people will see. It’s also less common.
Artists may like the smooth surface here, and it hurts less than you’d expect. You can add more later if you want. This space can stay private even at the beach.
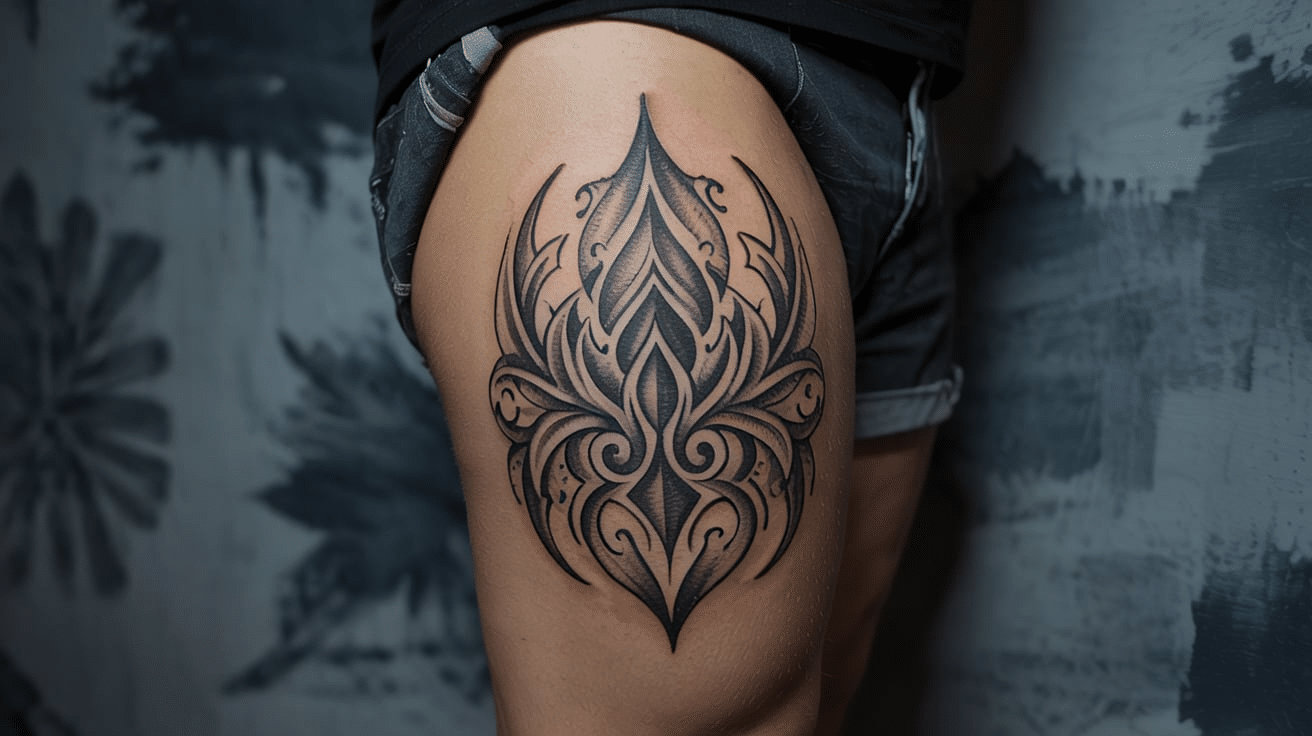
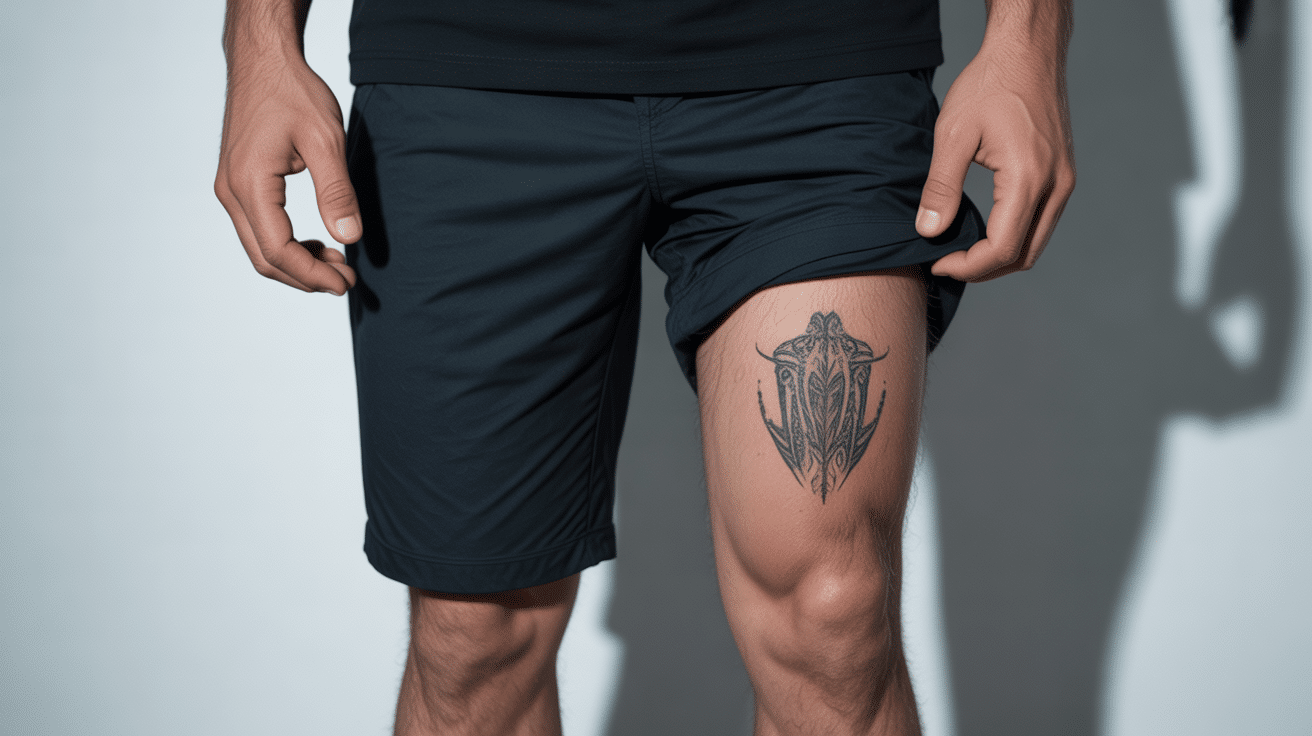
8. Inner Thigh
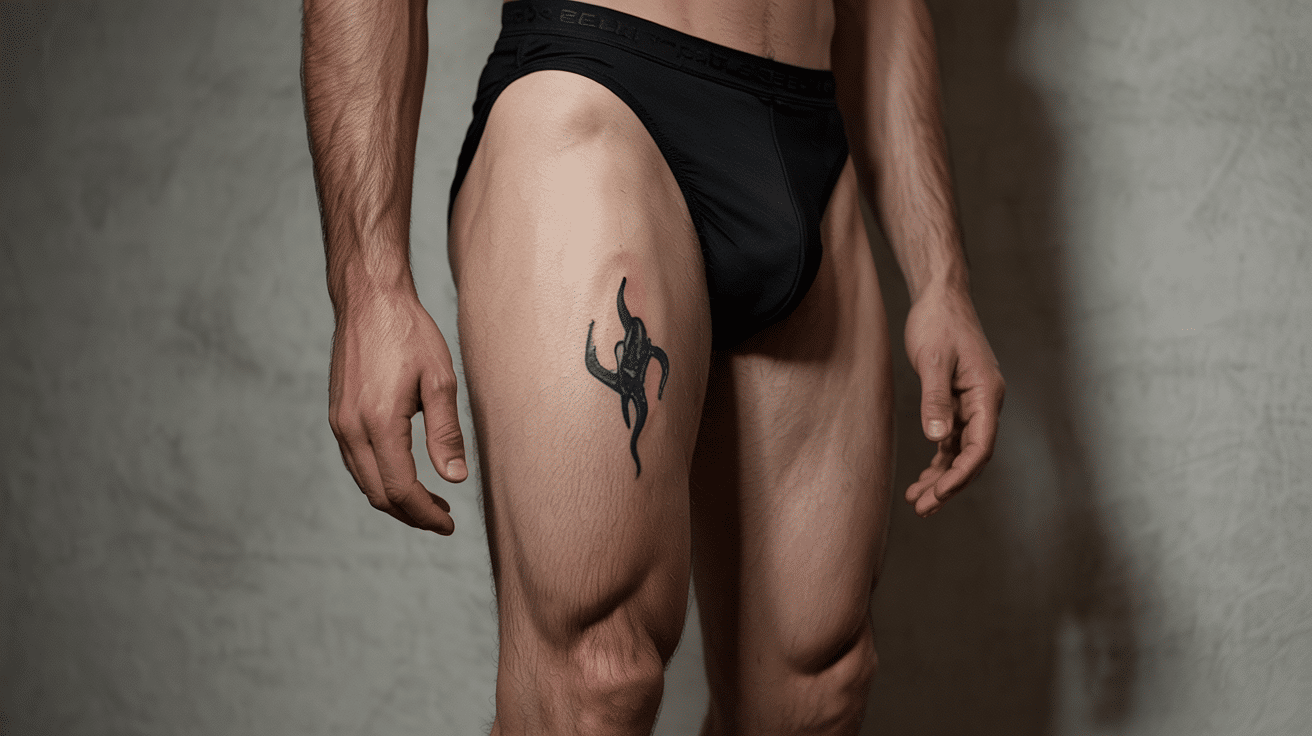
Tucked away and more personal. The skin here is soft, which can make it more sensitive. Often used for names or small art.
It’s not a common area, but perfect for people who want something private. Healing takes extra care due to rubbing when you walk.
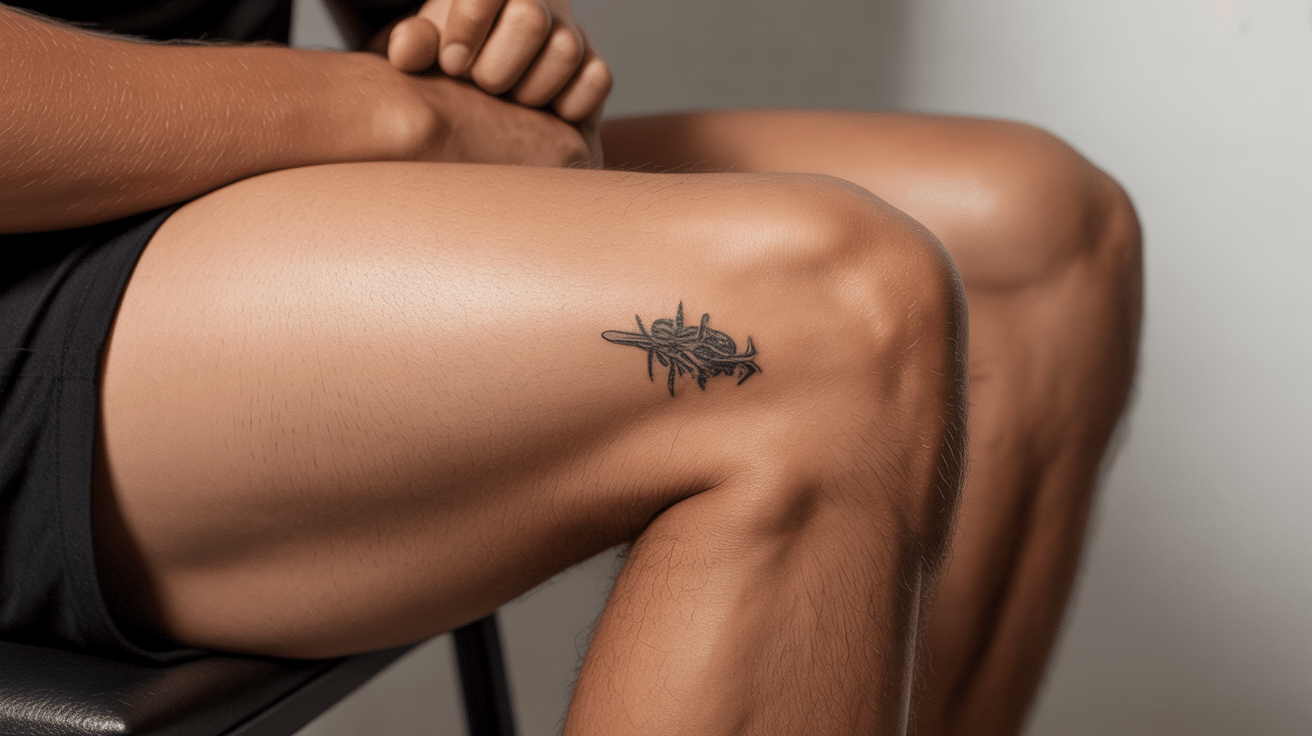
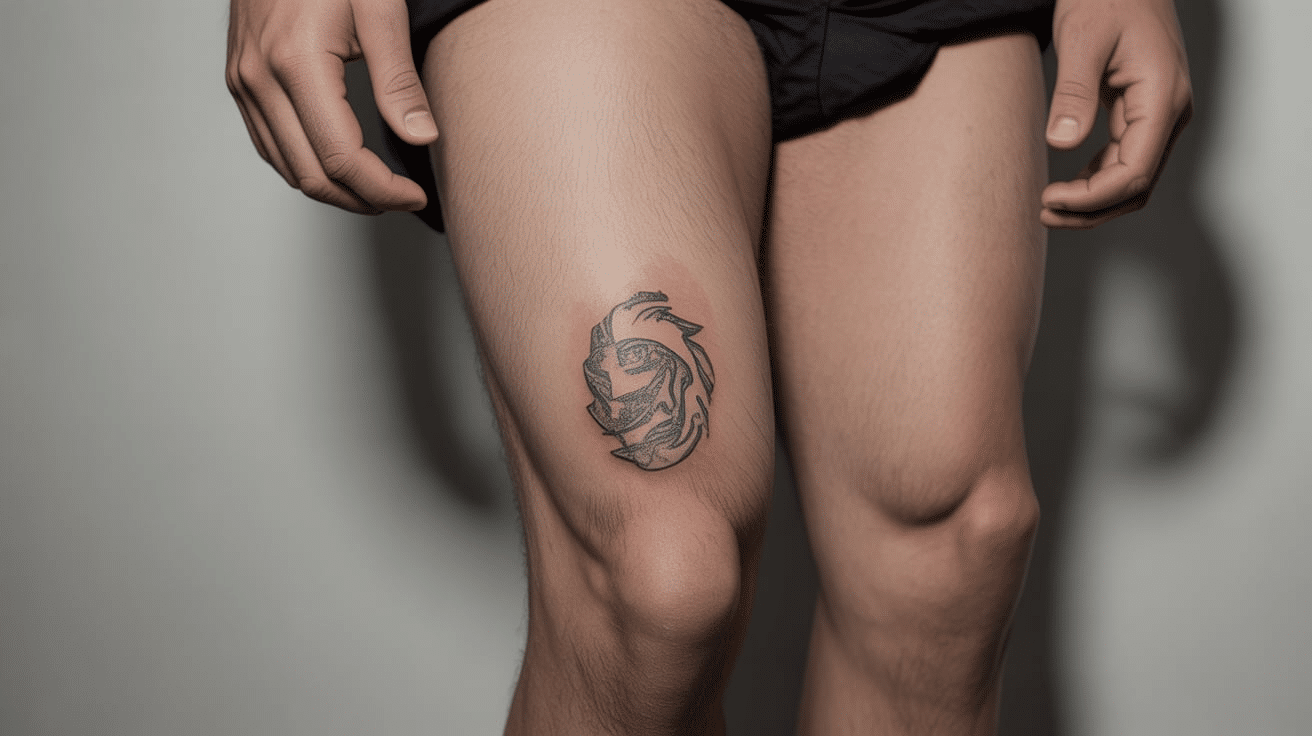
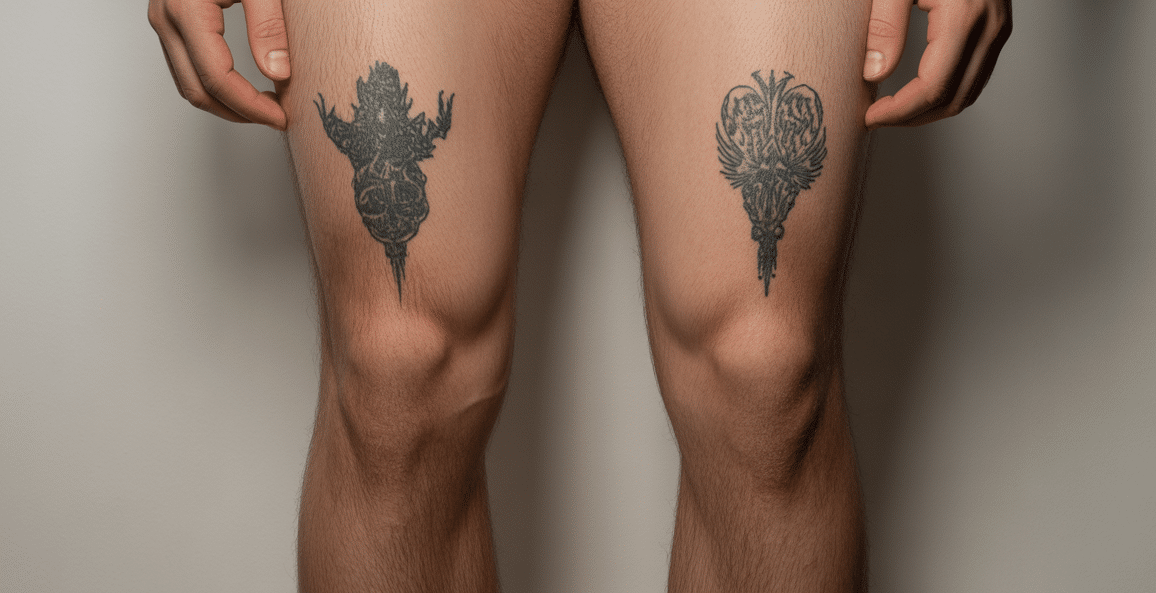
9. Knee Cap
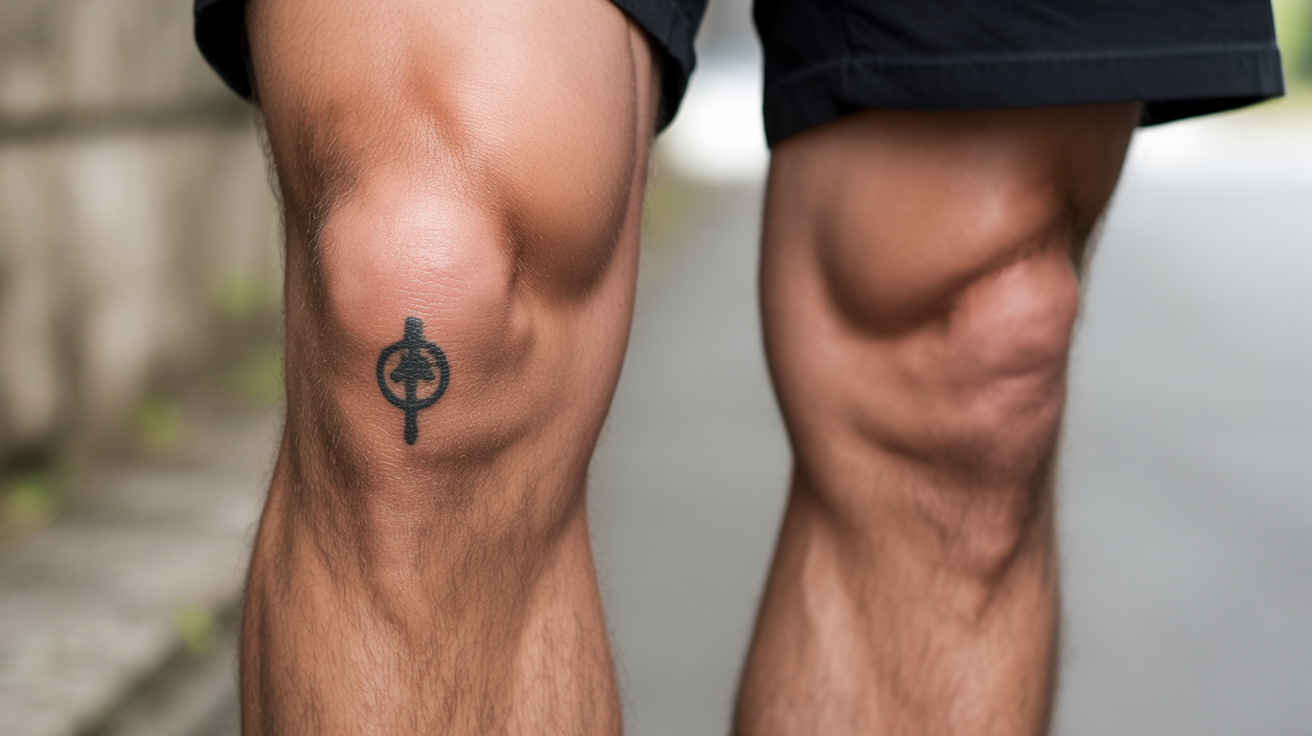
The round shape gives tattoos a bold frame. It’s a hard spot, so expect a bit more pain than usual. People often use this area to anchor other tattoos nearby.
It can be done alone or as part of a sleeve. Designs here may fade faster if the skin stretches a lot.
10. Above the Knee
This is a good choice if you want something small and flat. Many people use this area for words, dates, or short quotes.
It’s a great bridge between thigh and knee tattoos. Healing here is easier than on the kneecap. You can pair it with thigh or lower leg designs for balance.
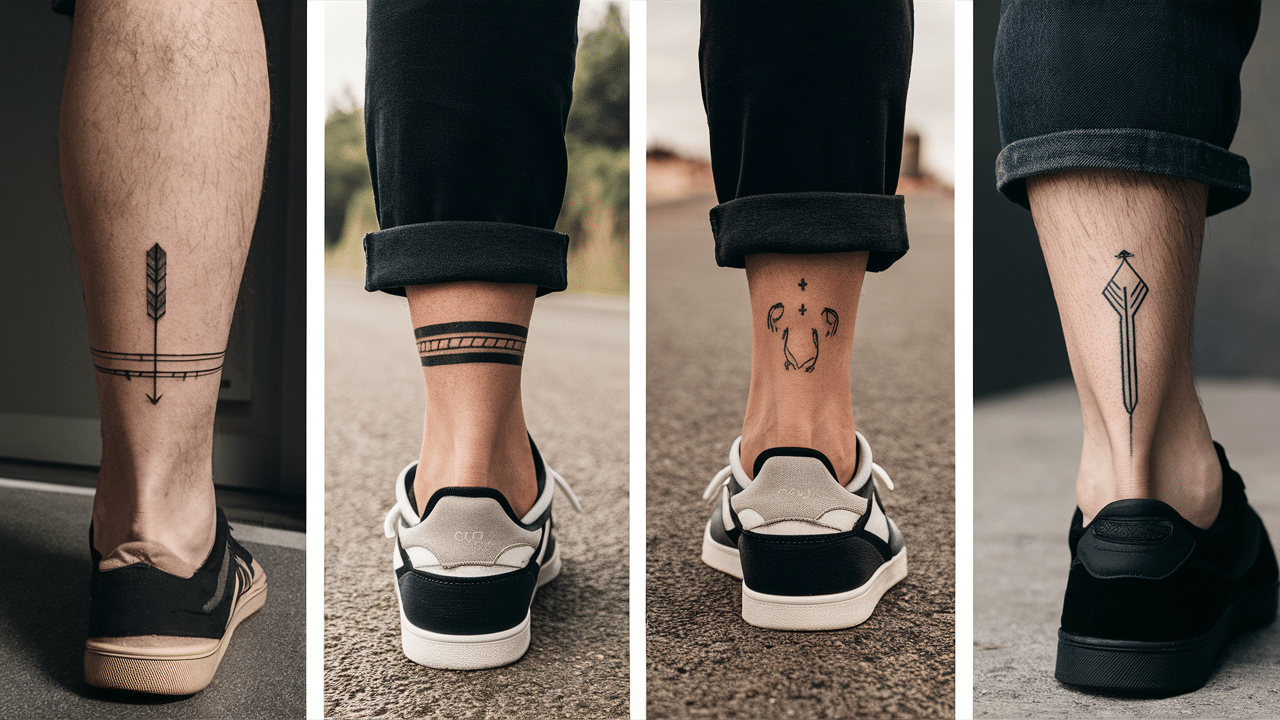
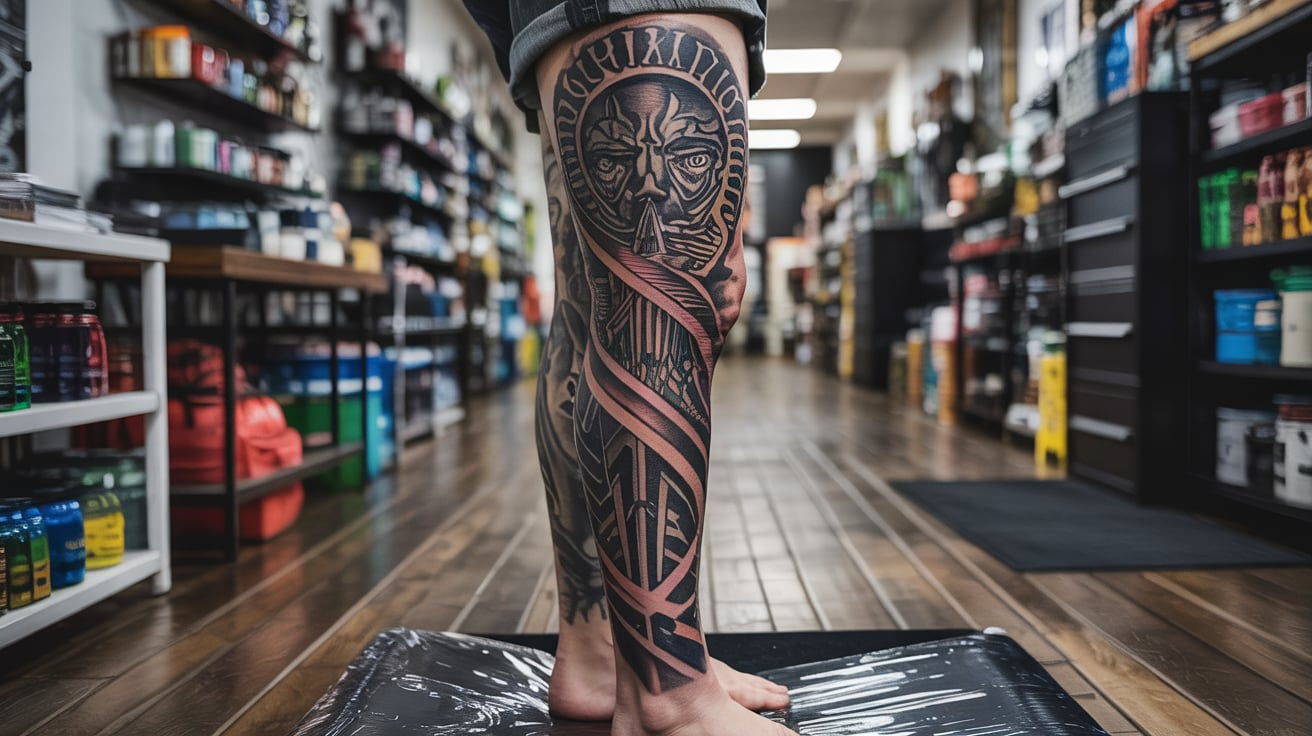
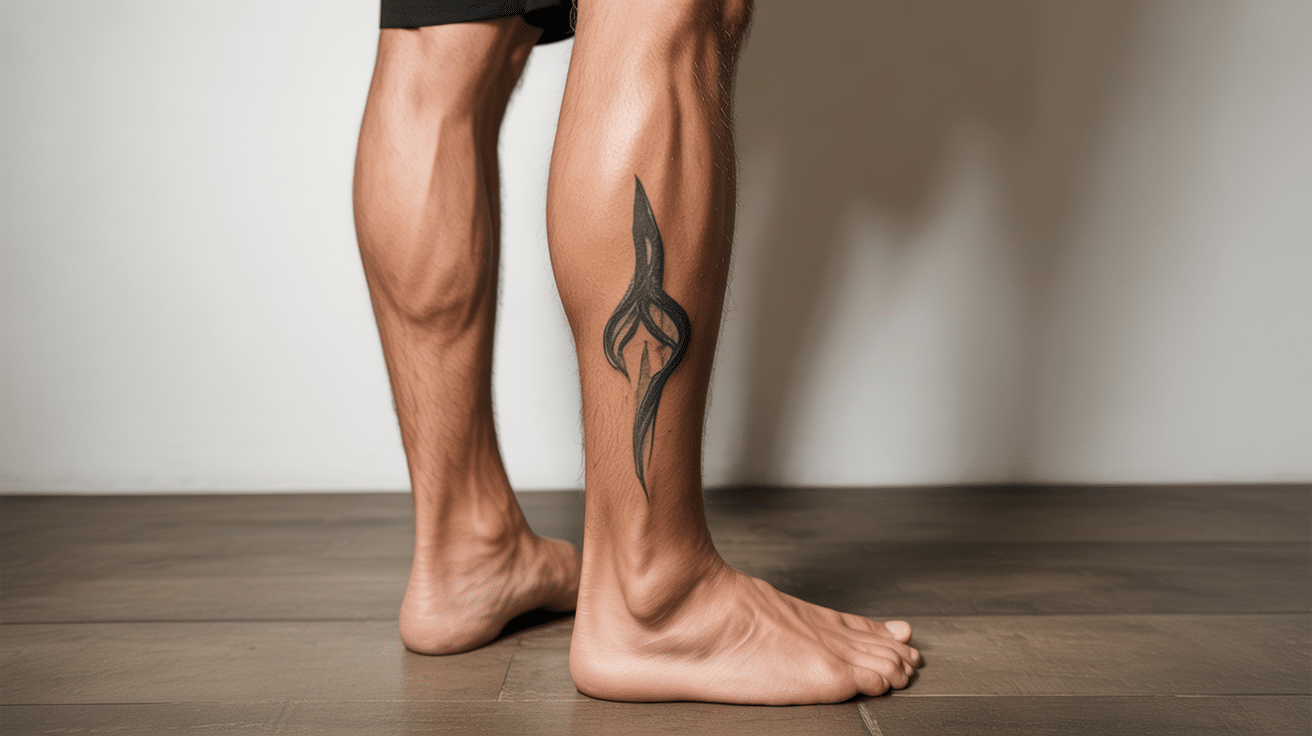
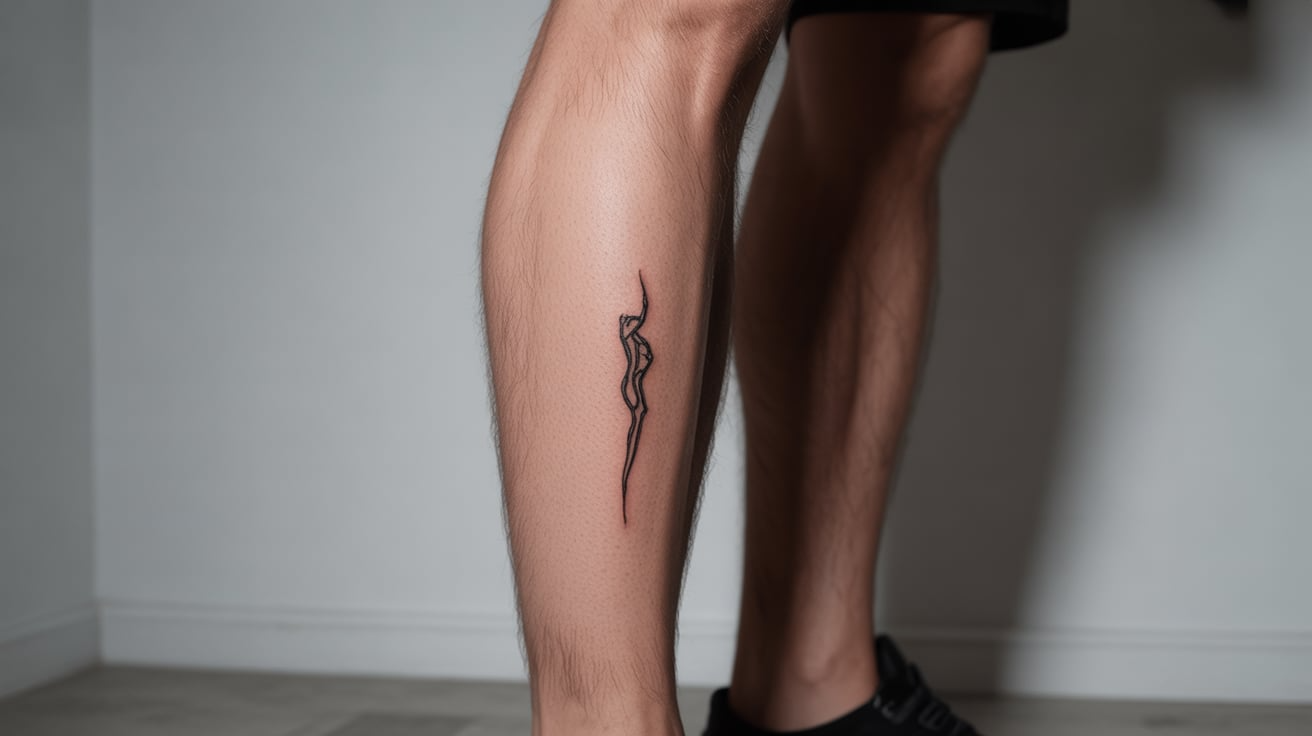
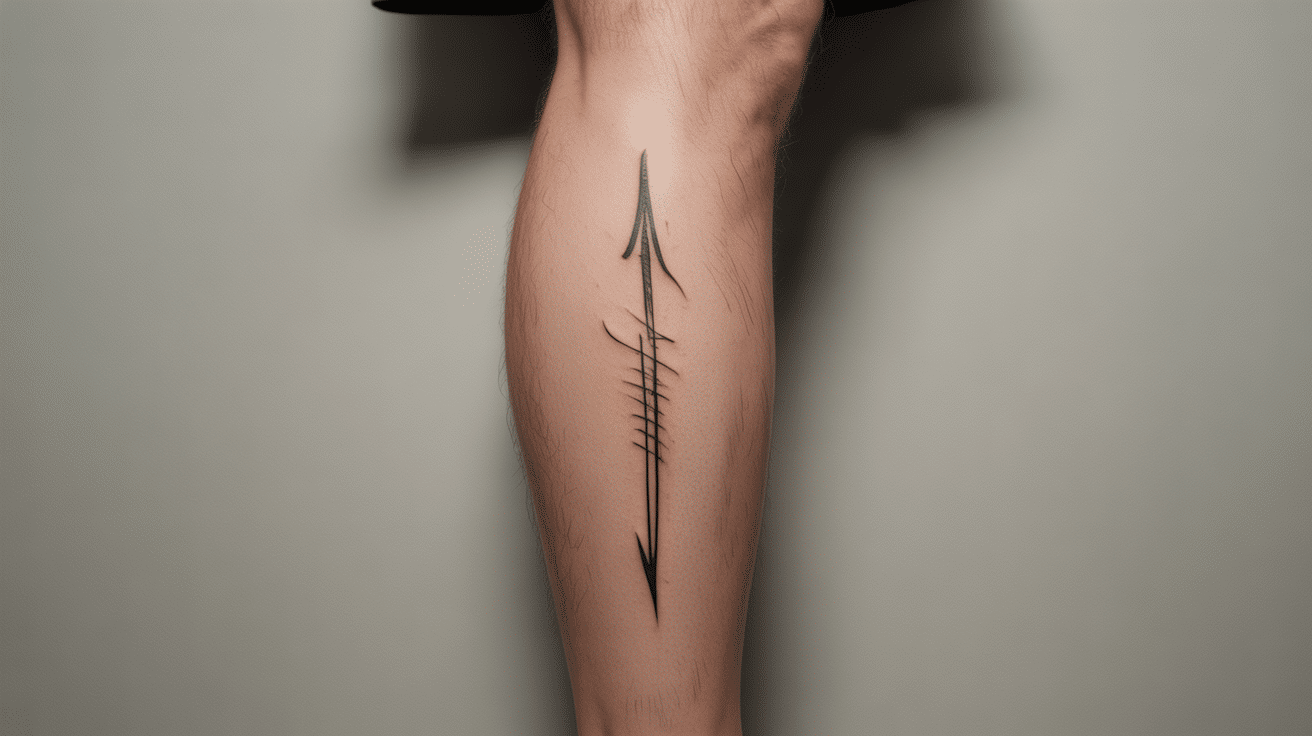
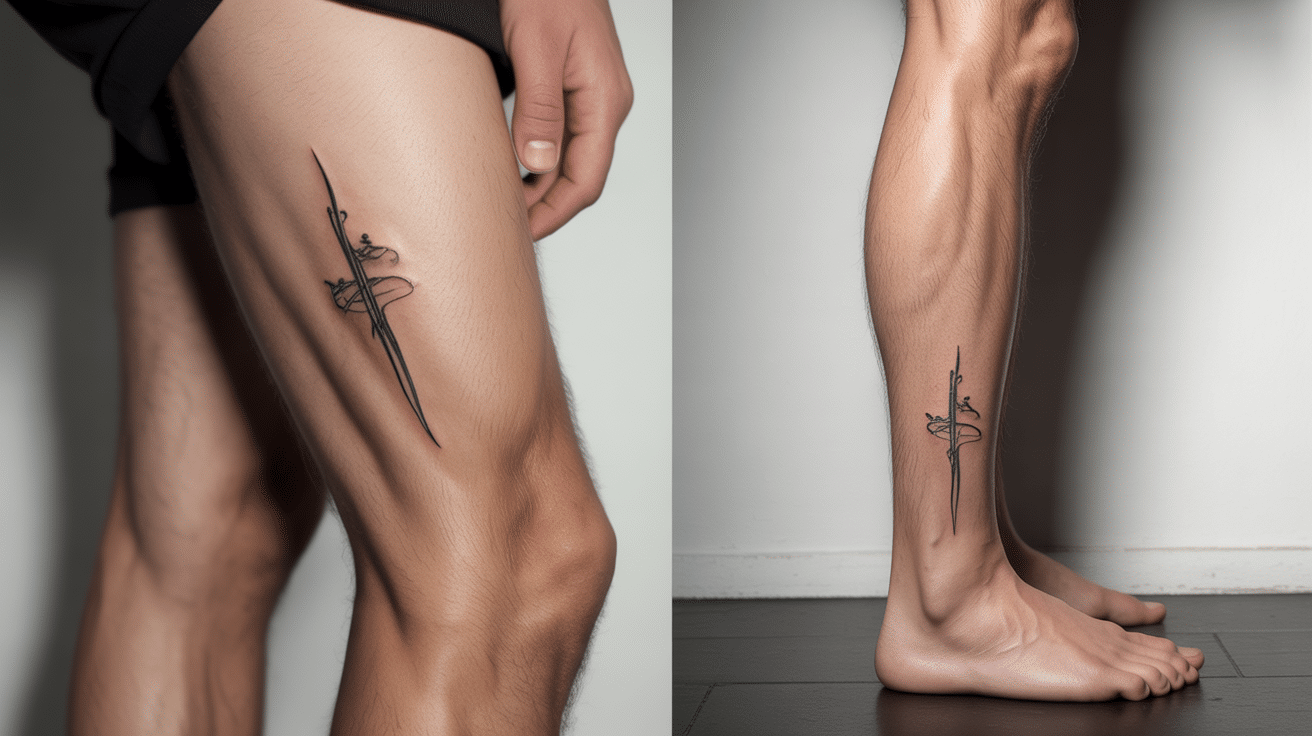
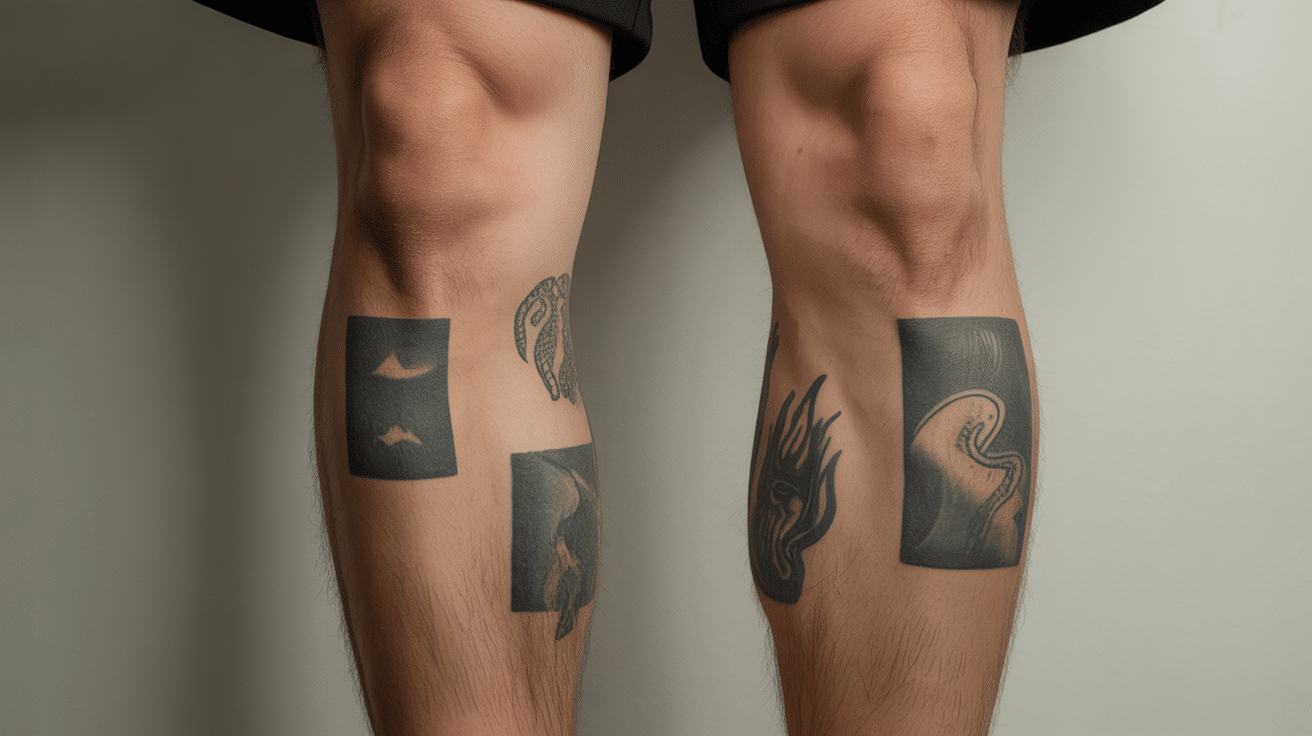
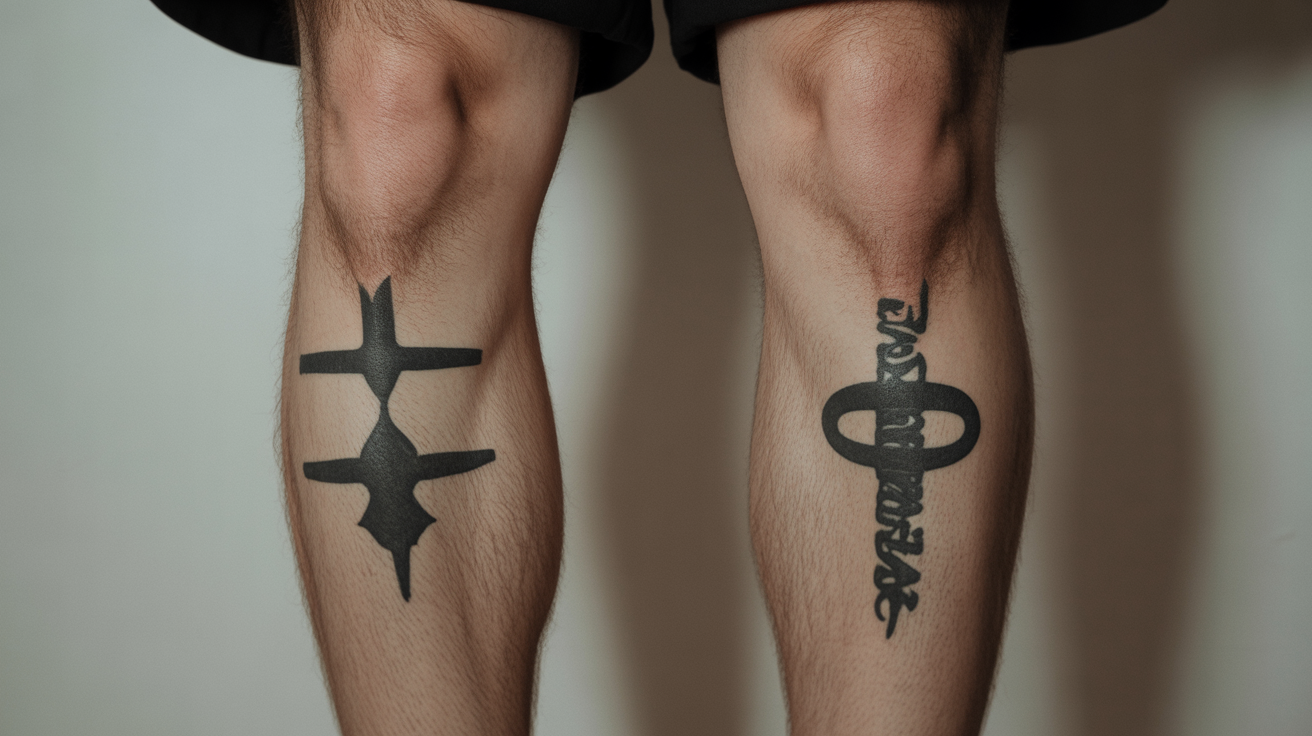
11. Shin
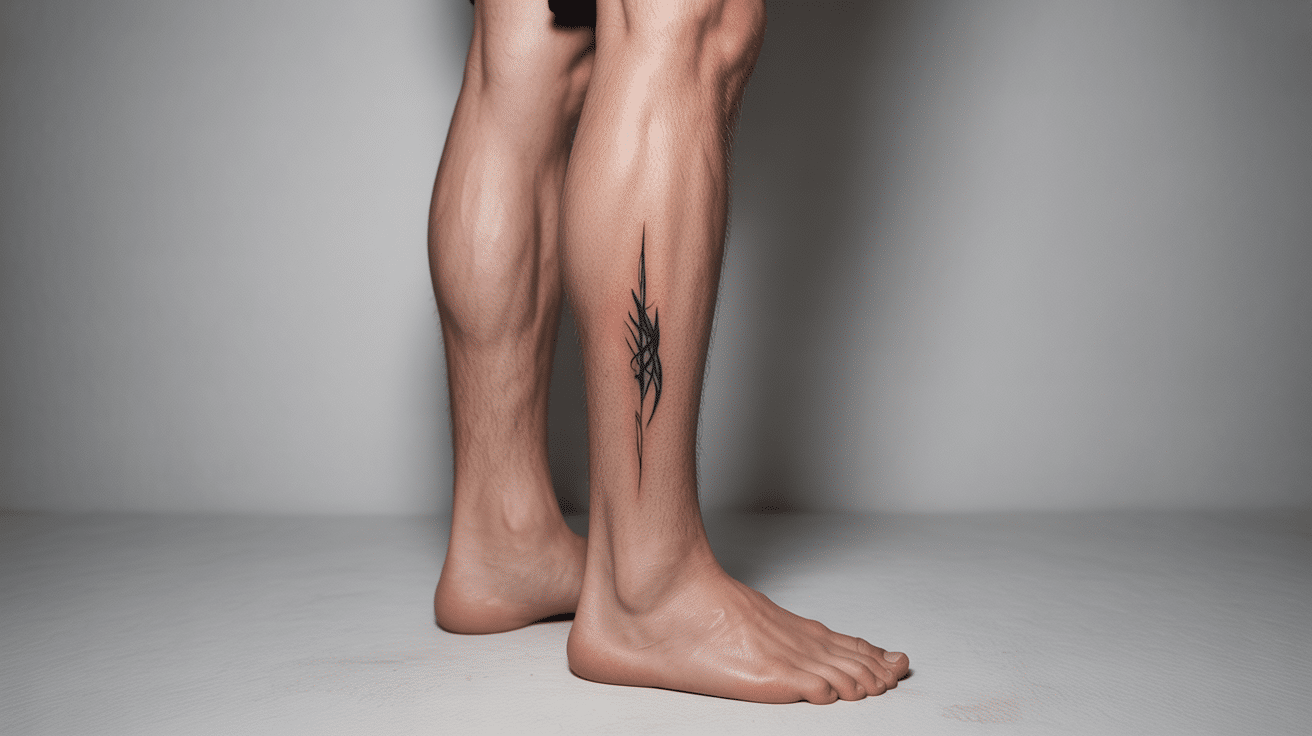
This part of the leg is straight and smooth. It’s good for arrows, lines, or longer text that flows down. Shin tattoos are highly visible and easy to show off.
This spot is solid for strong blackwork, too. Be prepared for a bit more sting due to the bone being close to the surface.
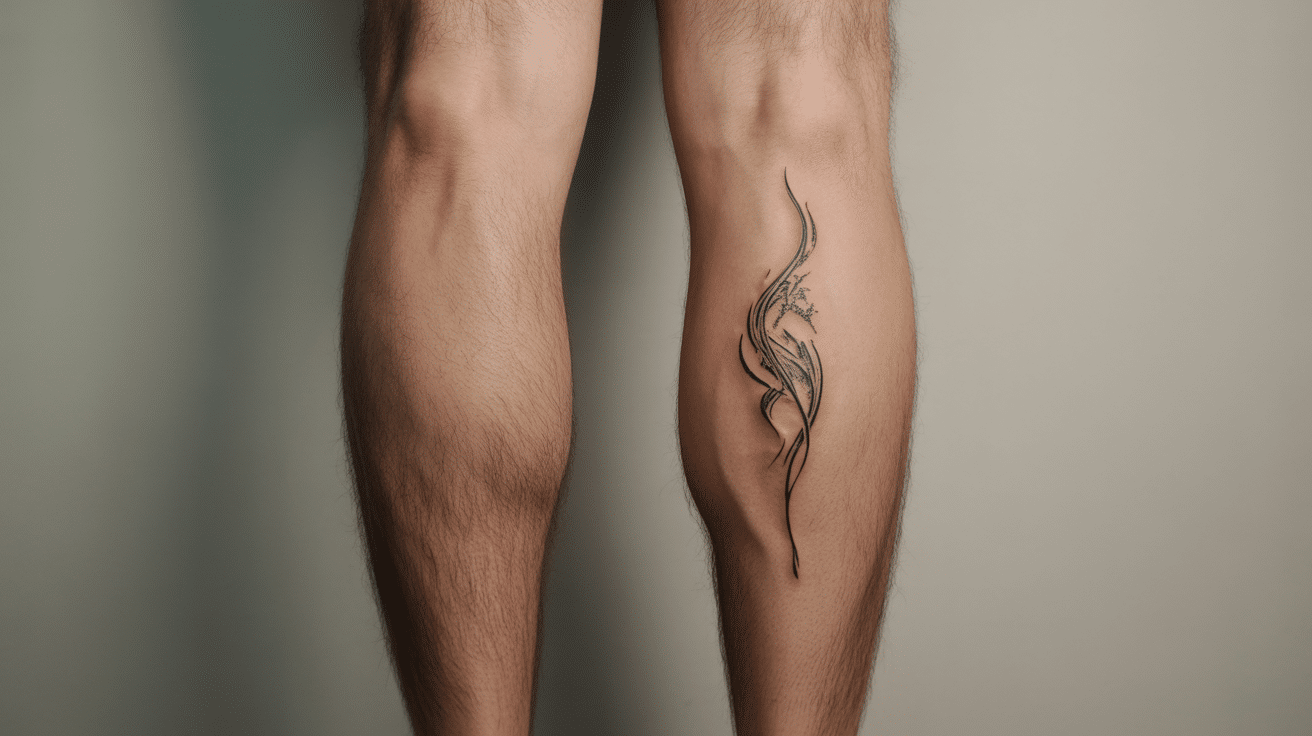
12. Calf
The calf is wide and soft. This makes it perfect for animals, circles, or bold pattern work. The curve adds shape to your tattoo without making it too hard to design.
It’s also a less painful area to tattoo. It’s popular for people to get larger work done in sessions.
13. Ankle
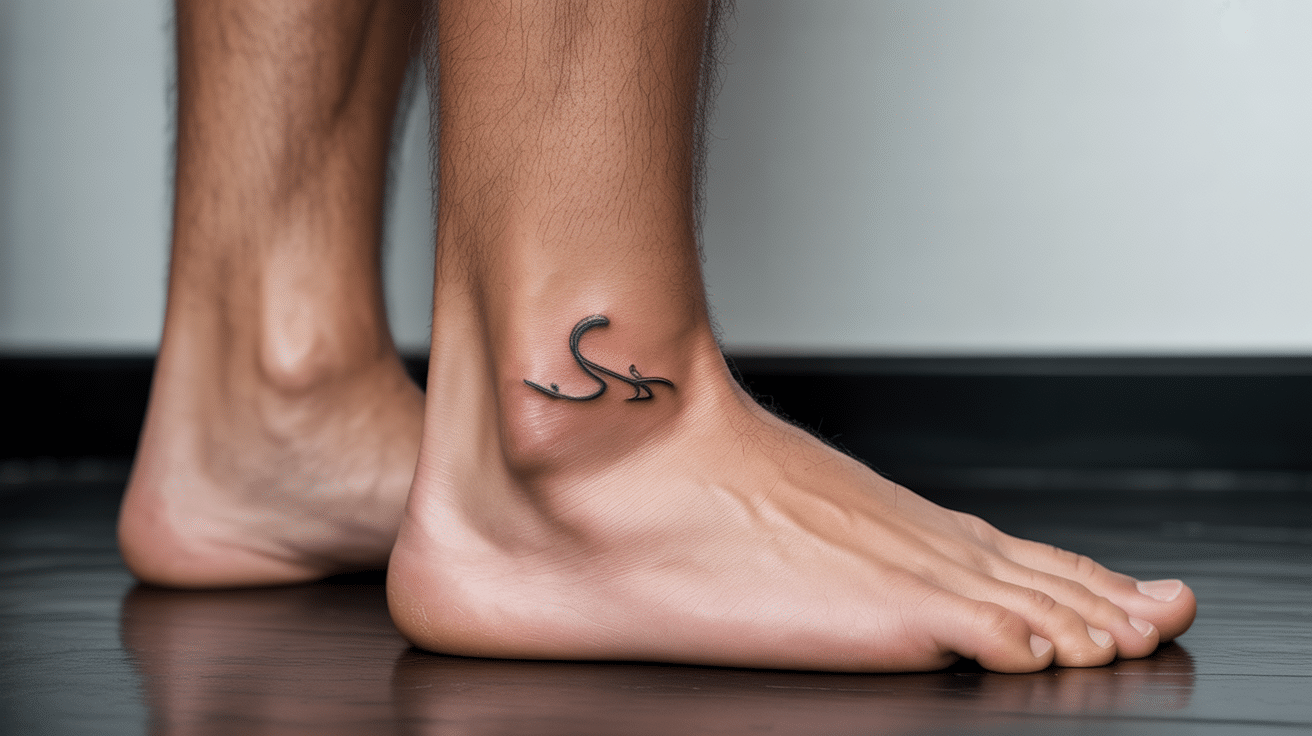
Great for tiny tattoos with meaning. It’s close to the bone, so it may feel sharper during the session.
These tattoos are quick to get and easy to hide. Many people choose initials, stars, or simple icons here. A clean outline or one-color fill works well in this spot.
14. Foot
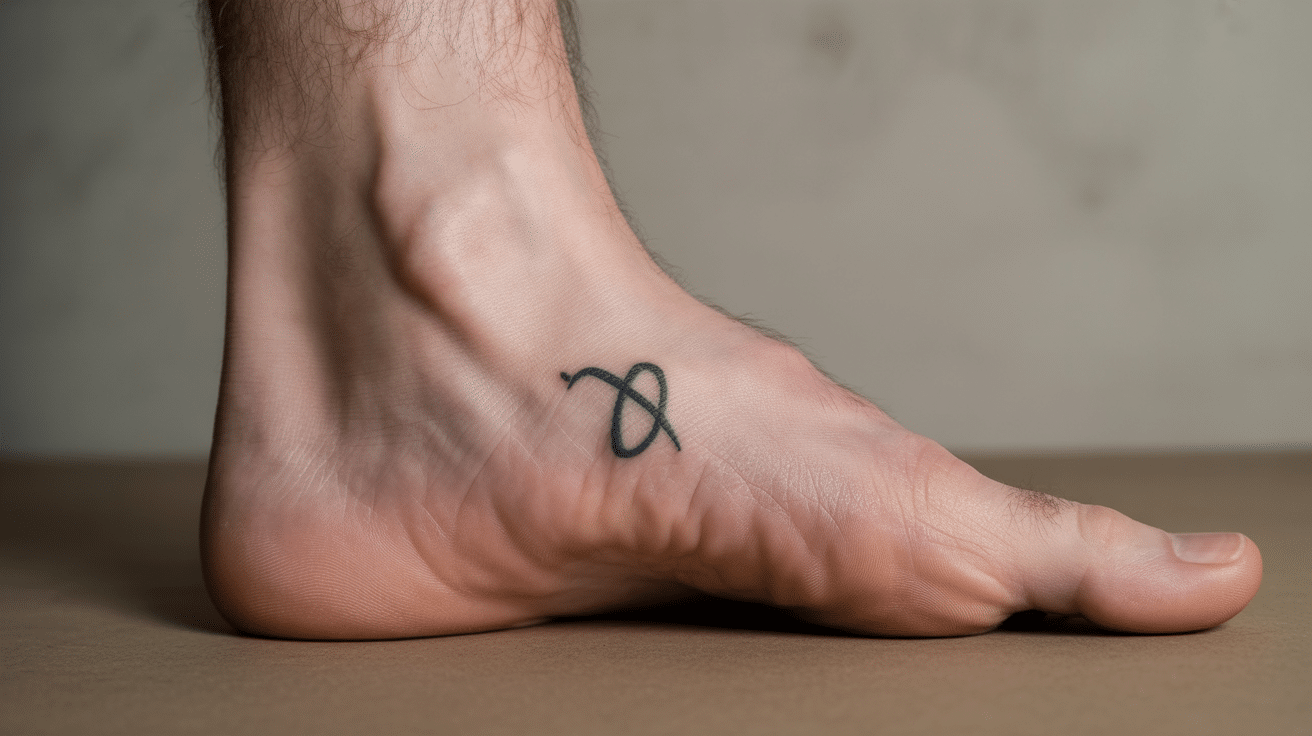
Your foot can carry small, strong designs. Keep in mind—it takes longer to heal and can’t be covered with shoes right away.
It’s a place for personal art or something with memory. Flat shoes or going barefoot helps with healing.
It’s best for short quotes, symbols, or designs with fewer details.
15. Hip to Knee
This long stretch is perfect for tattoos that tell a story or flow with motion. It works well for symbols or blended art.
This part can combine shapes or lead into a sleeve. It gives you height to play with. Artists often suggest this area for large ideas you want to grow.
16. Knee to Ankle
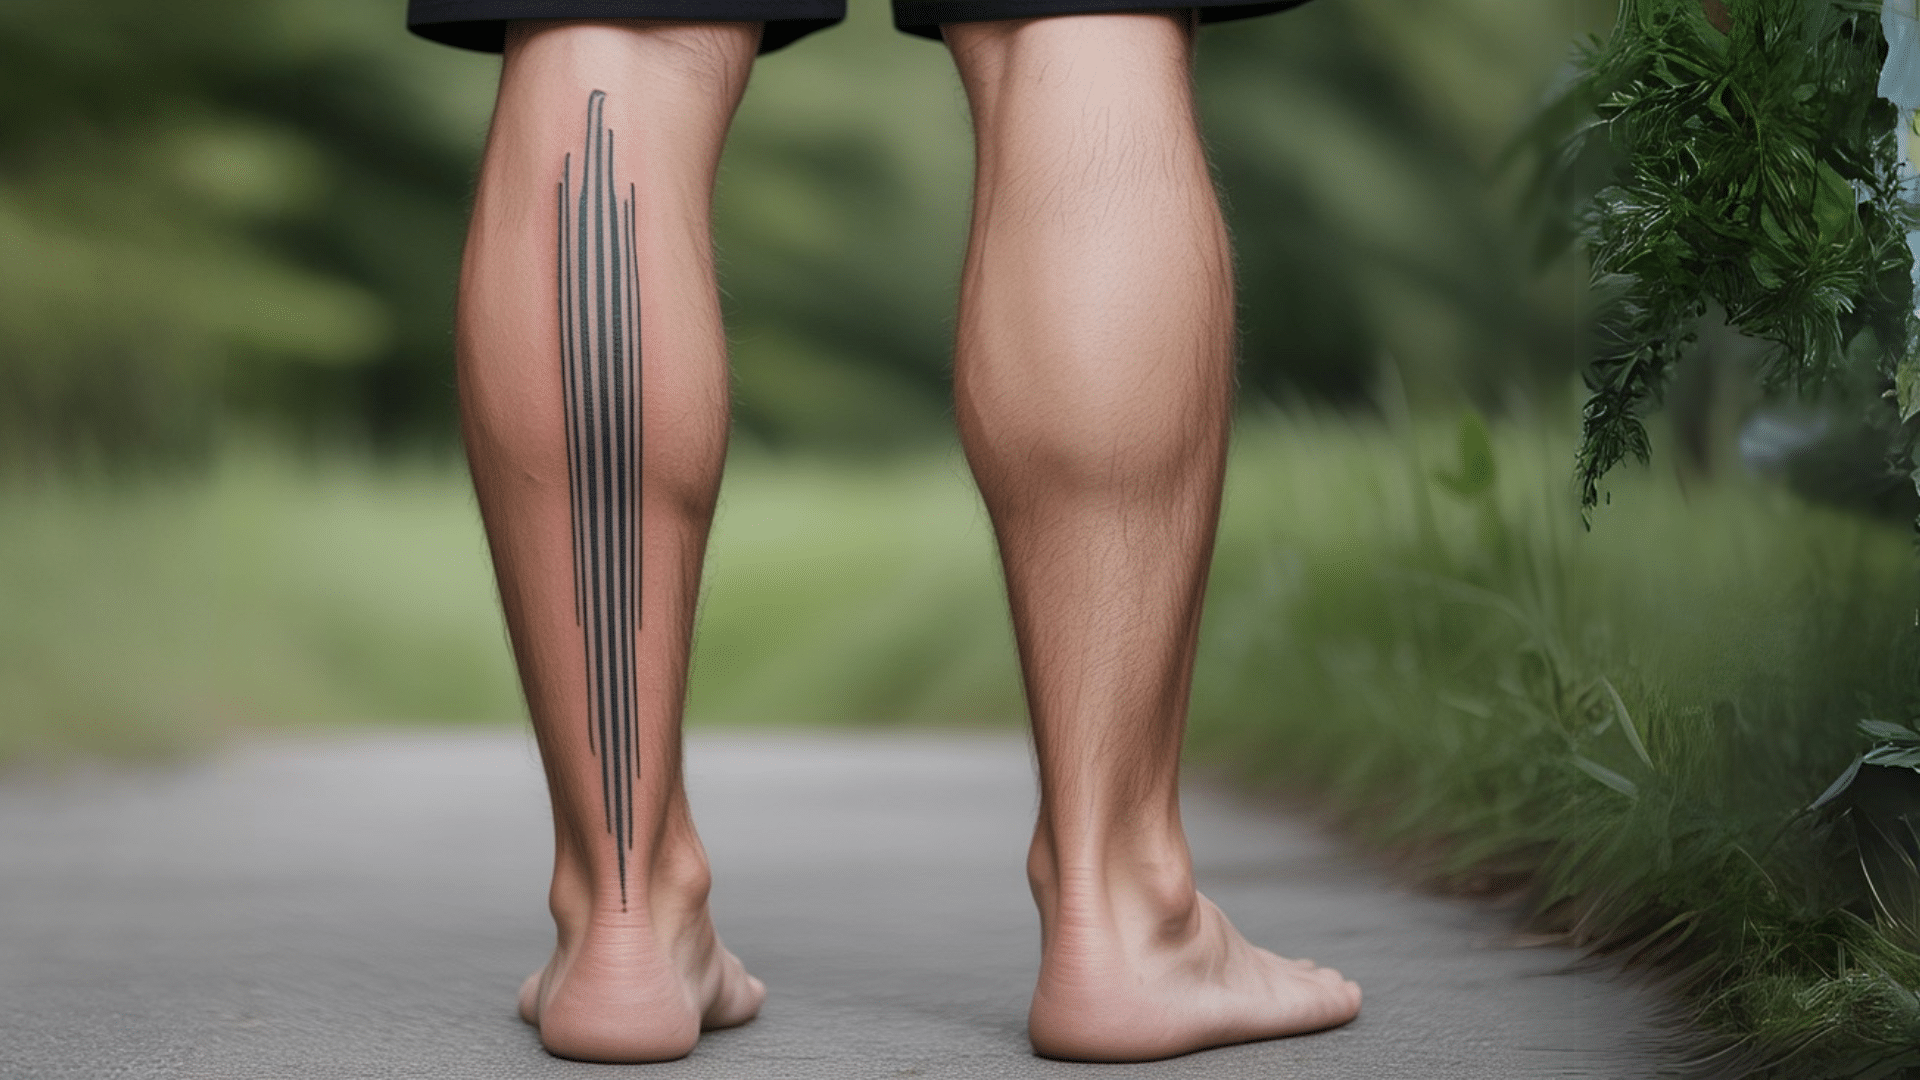
A long canvas that works well for stacked designs. It’s ideal for vertical flow from the top of the shin to the foot.
Artists like this space for repeating patterns or balanced layouts. It’s also easy to break into smaller sessions. People often use this space for text or bands.
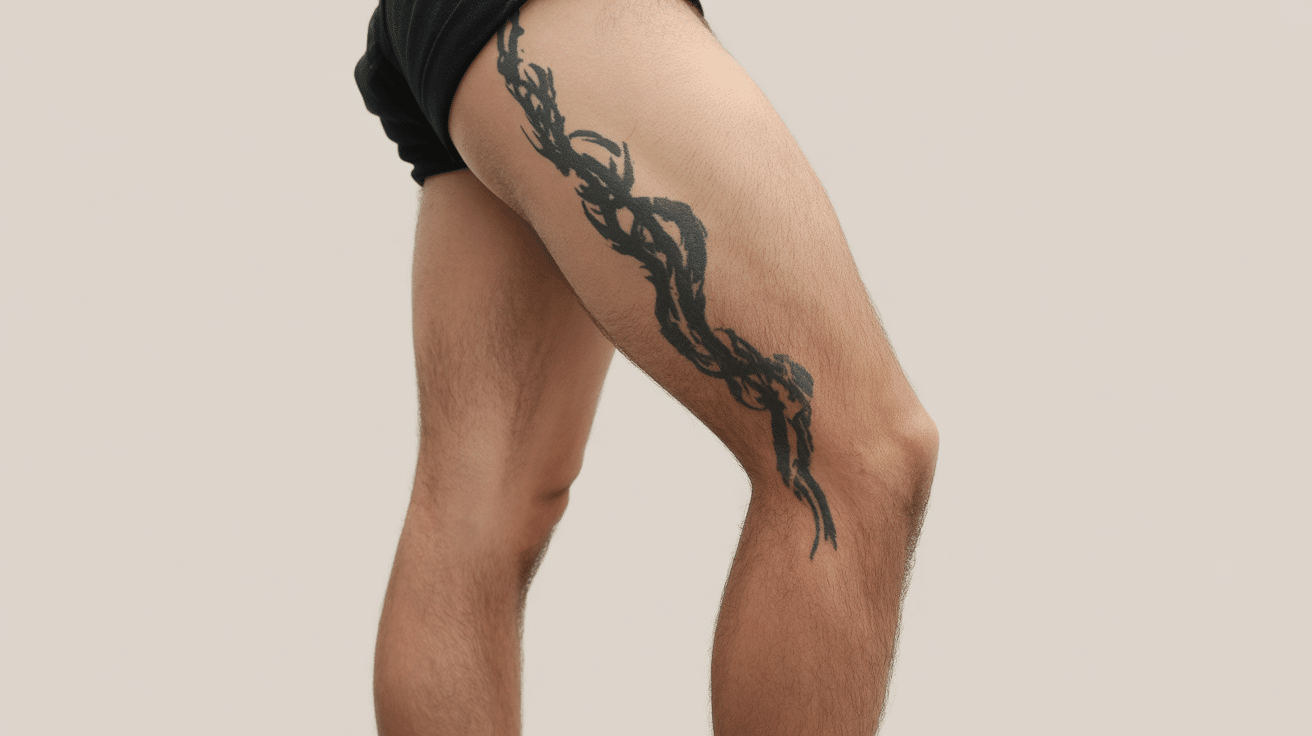
17. Outside Thigh
One of the easiest spots to tattoo. It’s large, flat, and gives you space for detailed work. You can go bold or soft here.
It’s also easy to rest while being tattooed, which helps the process go smoothly. Outside thigh designs often hold their shape well over time.
18. Inside Calf
Less common and more private. If you want something personal or symbolic, this area keeps it close.
You can add one side now and the other later. It fits well with words or narrow symbols. This area gets less sun, which helps tattoos stay clear.
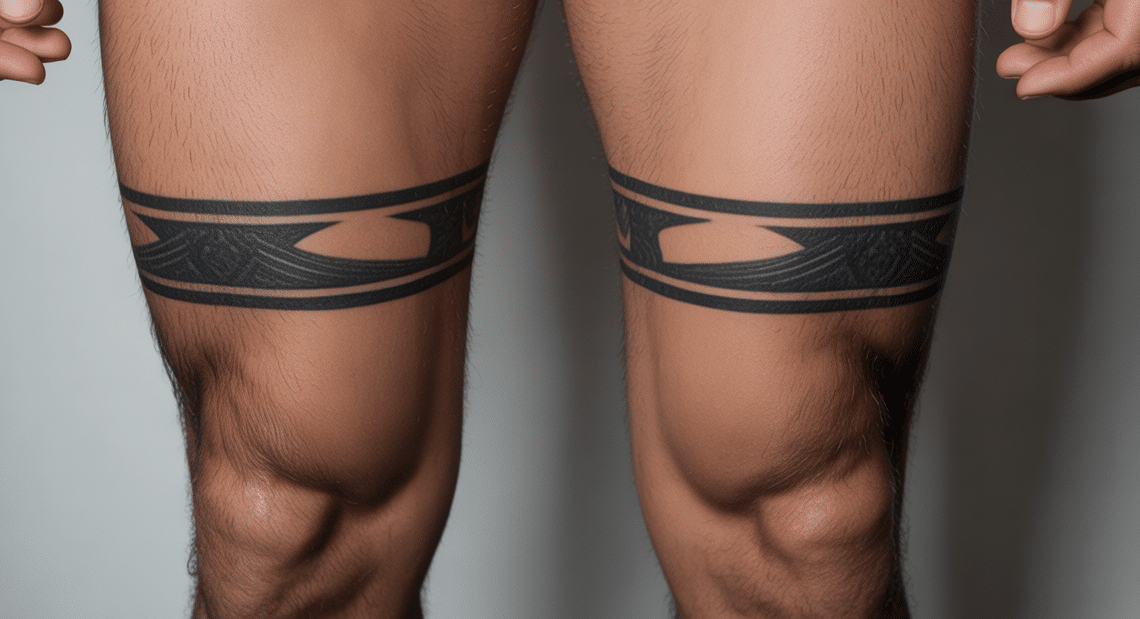
19. Leg Band (Calf)
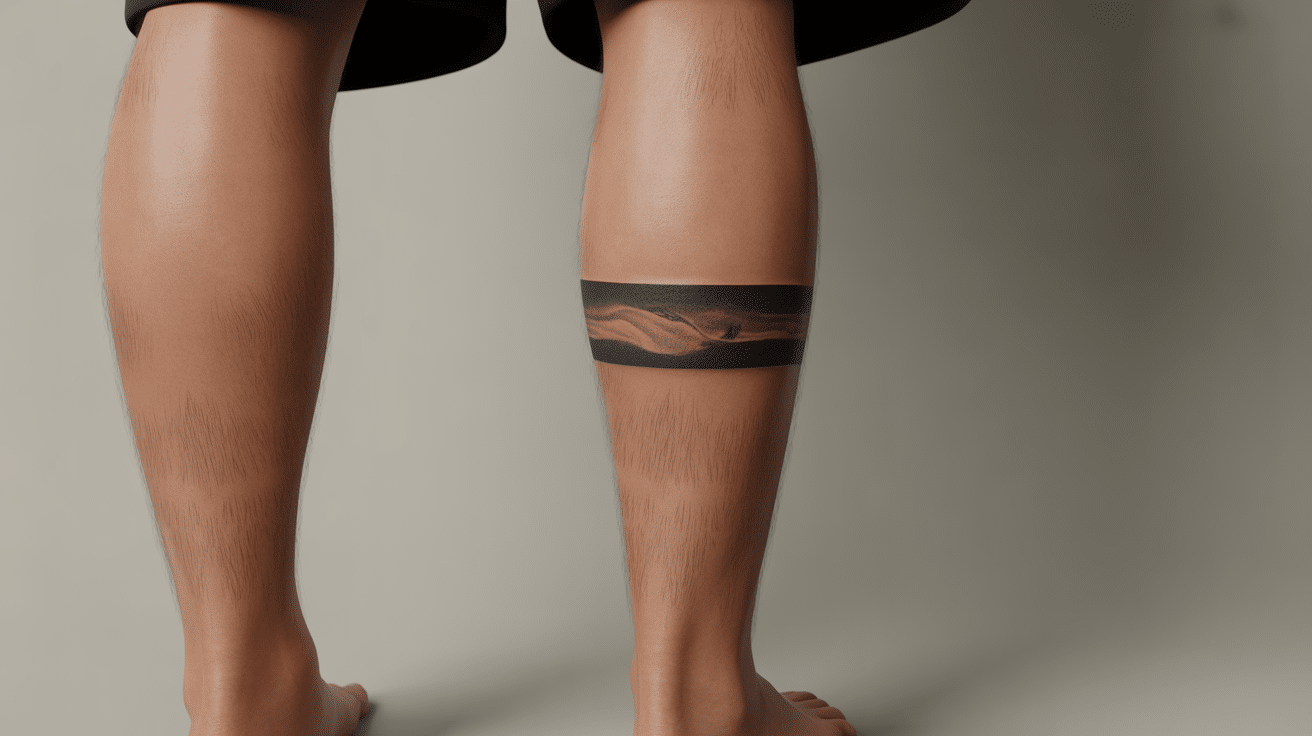
Wrap a tattoo around your calf like a ring. Simple or detailed, this bold style keeps its shape well. Many people use it to mark growth, dates, or just a clean pattern.
Bands stand out without needing lots of space. They’re easy to pair with other designs above or below.
20. Thigh Band
A strong horizontal strip around the thigh. It looks clean and is easy to cover when needed. This area can hold detail or stay plain with solid lines.
Great for people who like symmetry. Thigh bands work well as part of a bigger design, too.
21. Vertical Strip
This runs from your thigh down to your shin. Perfect for arrows, writing, or simple shapes with height. Vertical designs help draw the eye.
It can also make the leg look longer. Many people choose this style for personal quotes or simple trails.
22. Horizontal Strip

Shorter tattoos that stretch across the leg, usually done on the thigh or calf. Great for single words or patterns.
These strips stay balanced and clean, even after years. Some people use this area to mark important dates or milestones.
23. Split Design (Top and Bottom)
You can place one tattoo high and another one near your ankle. They stay separate but still feel connected.
Good if you like variety without needing one full theme. It gives each design its own space to stand out.
24. Only One Side
Stick to either the inside or outside of your leg. It gives a clean look without covering the whole leg.
This approach keeps things tidy and focused. You can also match this with a sleeve on the other leg later.
25. One Design per Leg
Want variety? You can place one design on each leg and give them space to stand on their own.
Some people like to use this for contrast or growth over time. It keeps your look balanced without being too packed.
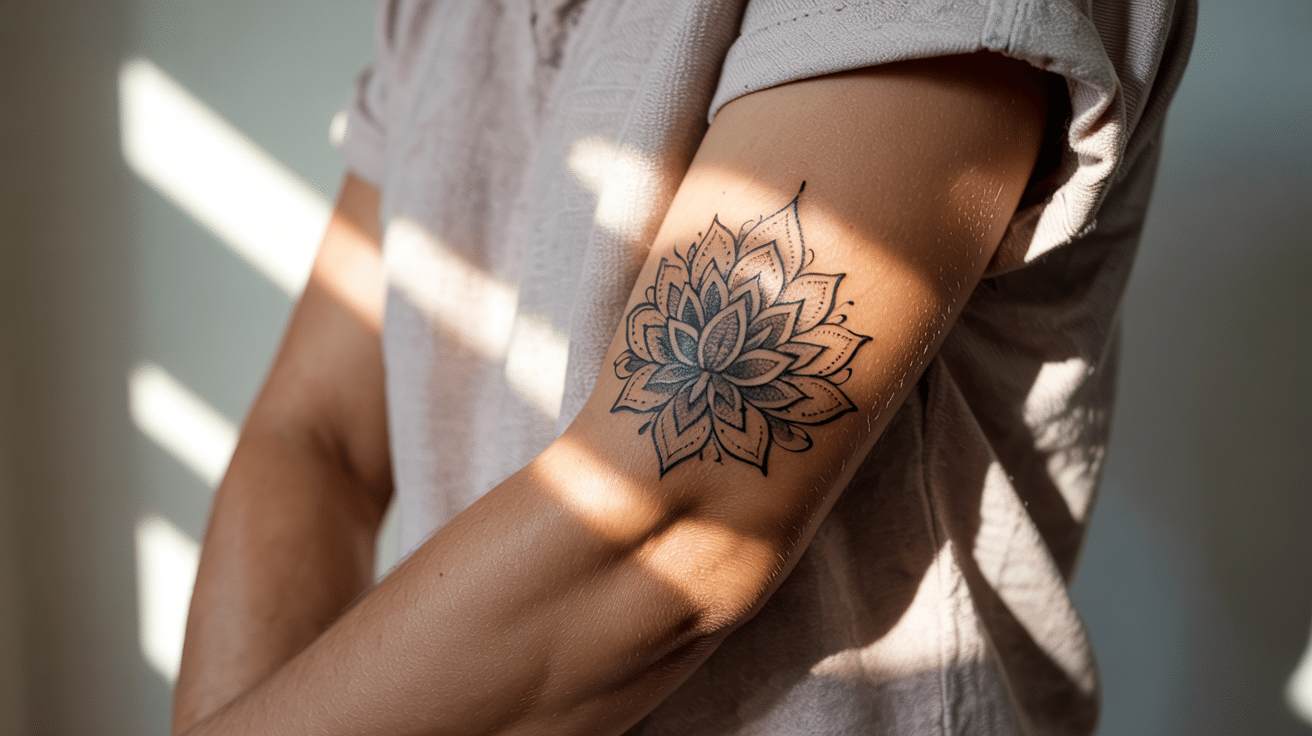
26. Top of Thigh
This area stays private but has room for wide tattoos. It’s soft, smooth, and gives your artist lots of space.
Ideal for long shapes or detailed art. Top thigh designs are often placed just below underwear lines.
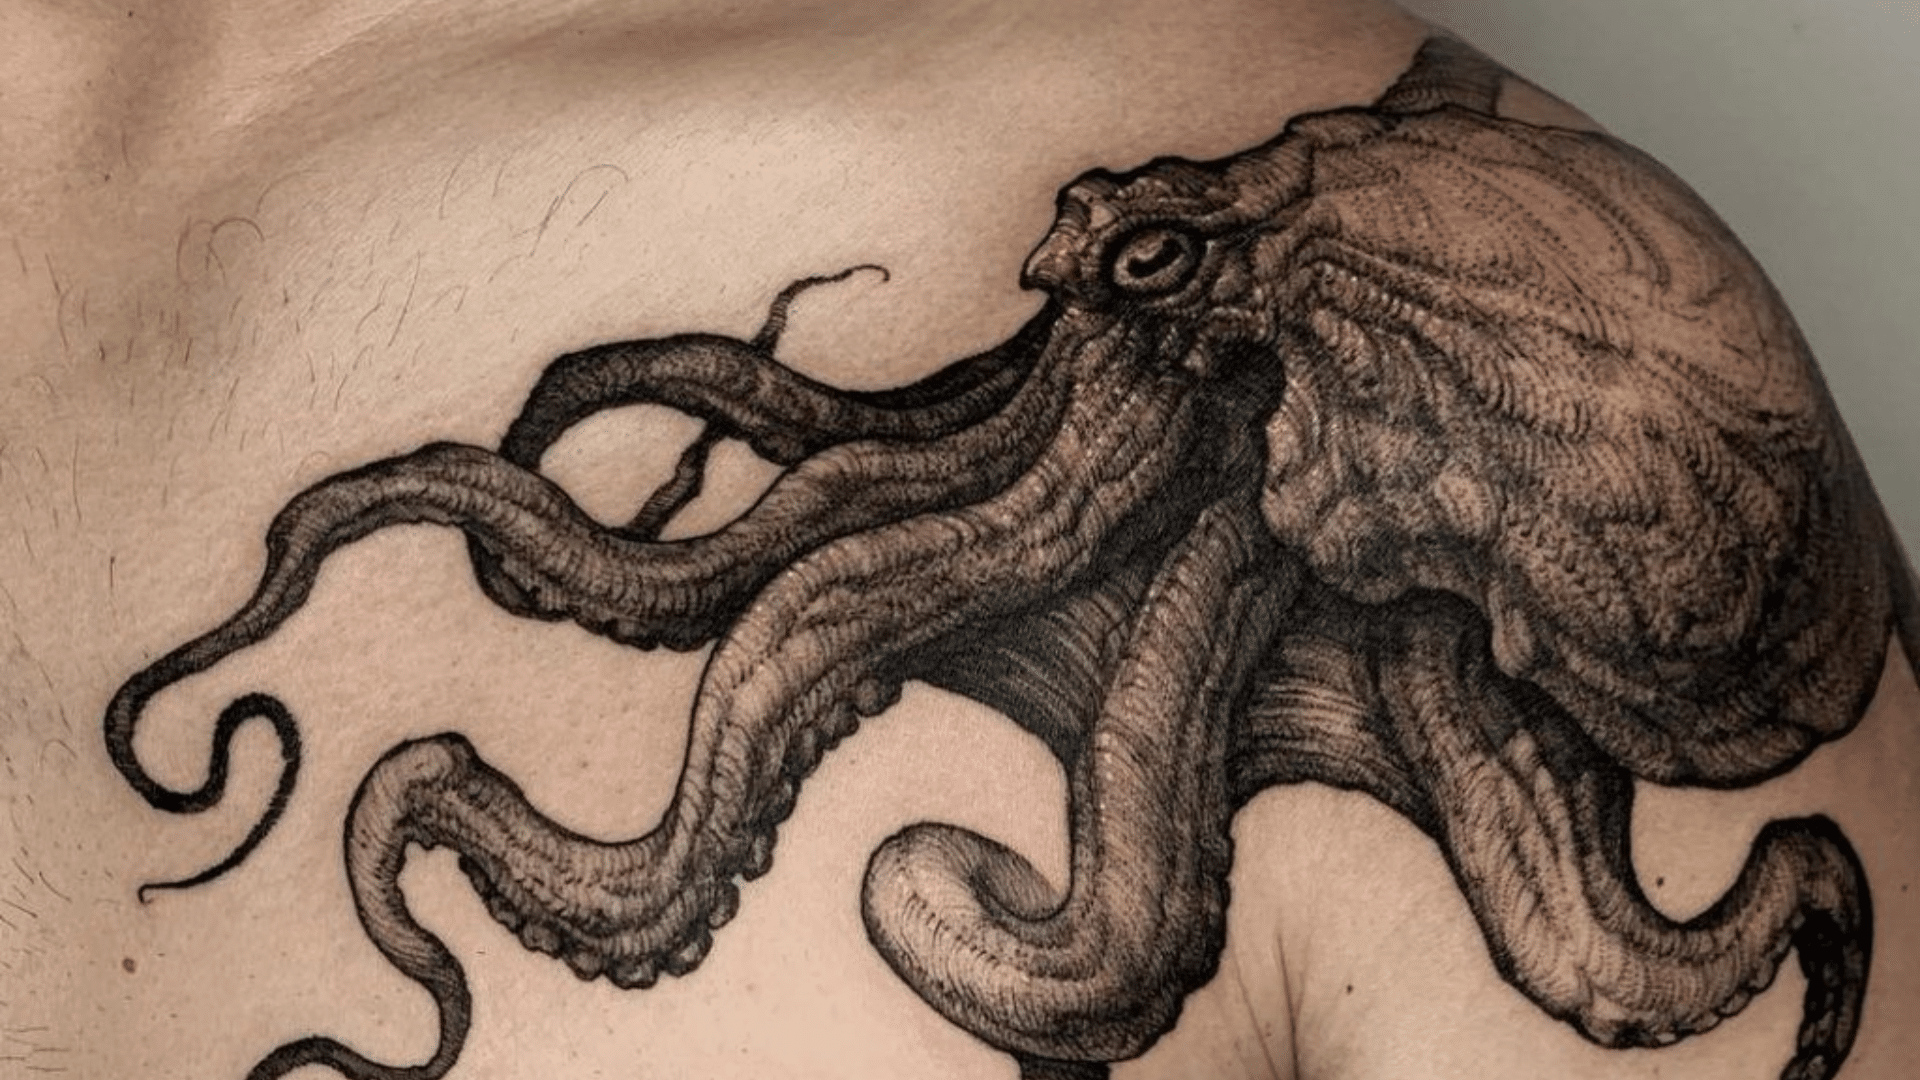
27. Shadow Style
Shading brings out shape without needing thick lines. This style works great across large areas like thighs or calves.
Artists can use layers to show depth and motion. It’s a good pick if you want something with a soft texture.
28. Patchwork Tattoos
Each design stands alone. It’s like building a wall of stickers—fun, flexible, and easy to add more to later.
This is great for people who love different themes. You can mix styles or stay in one tone across the leg.
29. Script or Quote
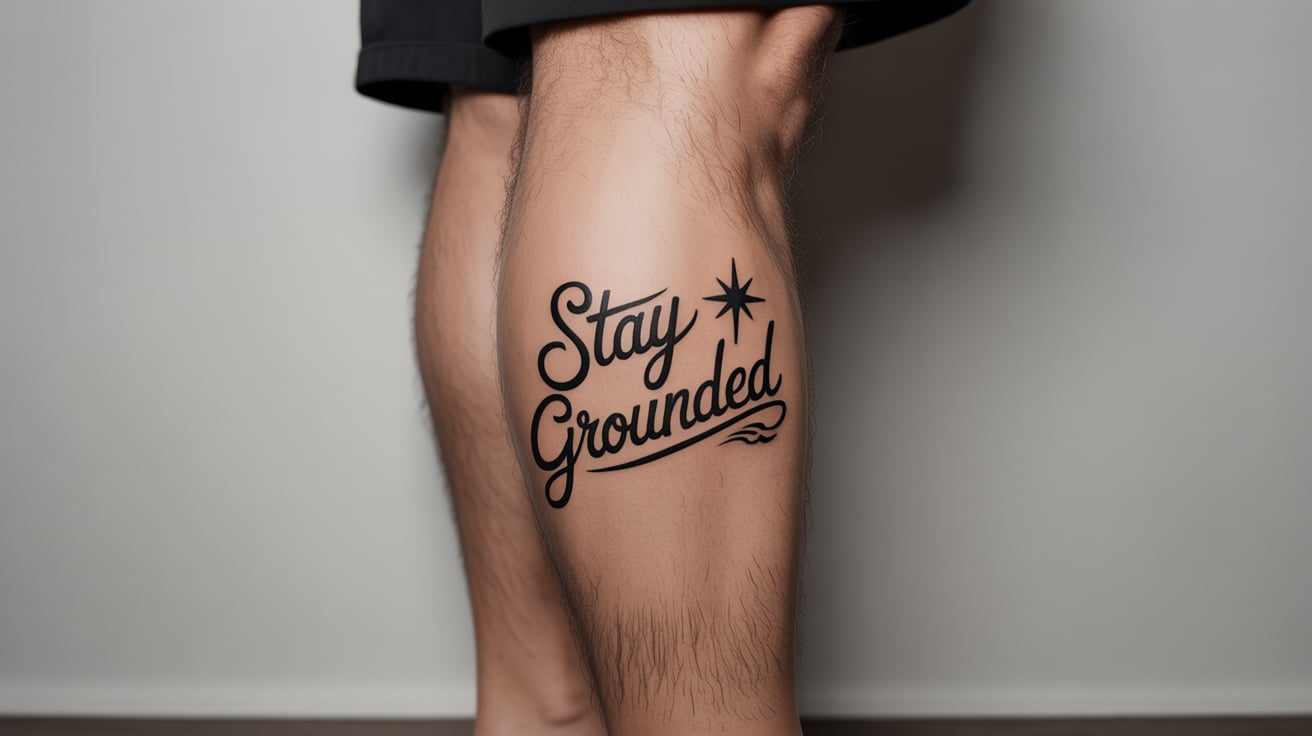
Words, names, or phrases can wrap around your leg or follow a long line. Keep it short and easy to read.
Choose a font that feels true to the meaning. Script works well with simple symbols or single lines.
30. Color Block Style
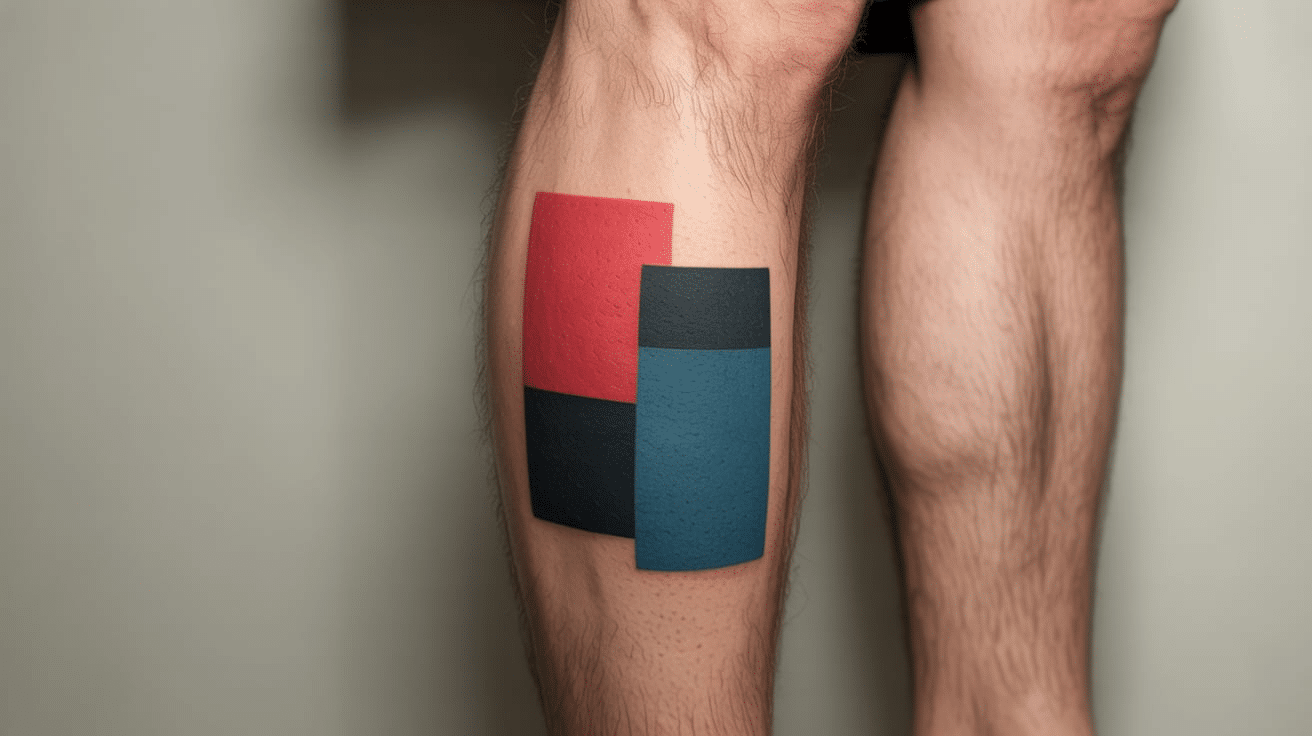
This uses solid shapes filled with color. Best for designs with bold lines and flat fills. Color block tattoos pop without being too busy.
They’re easy to touch up and hold color for a long time.
31. Knee as Centerpiece
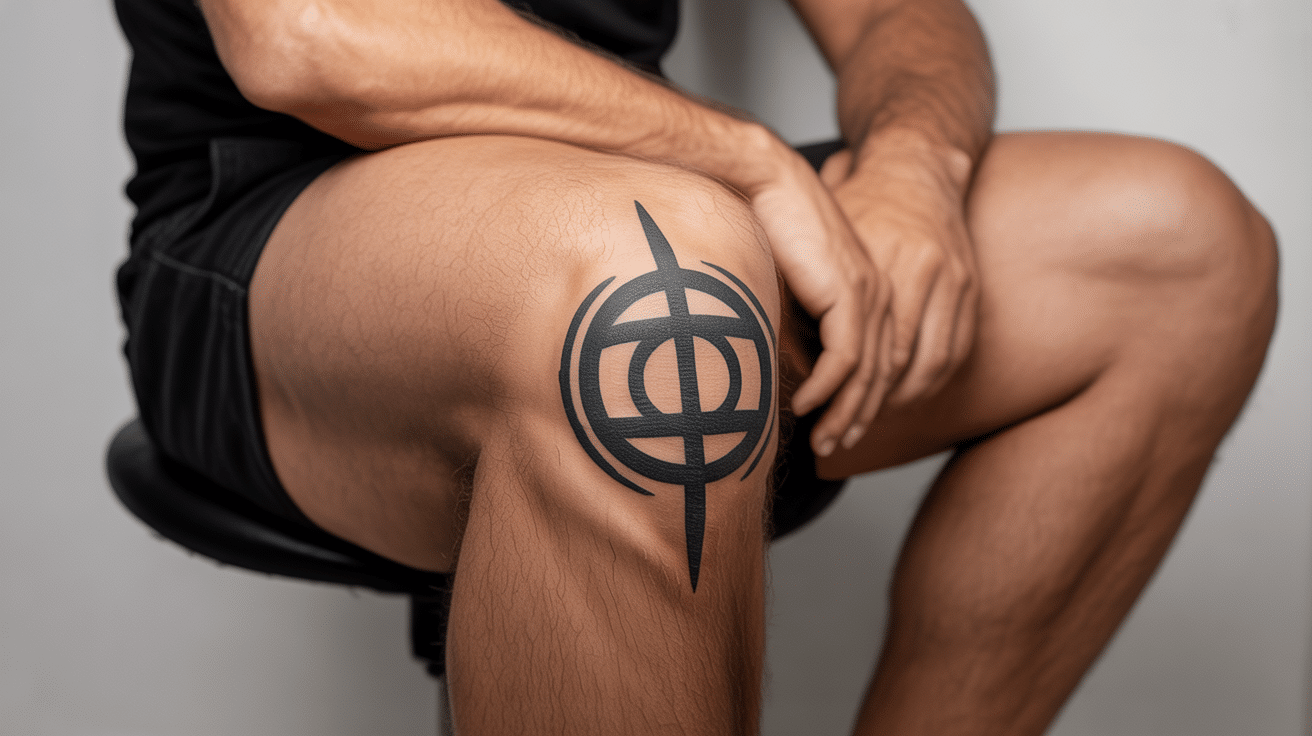
Turn your kneecap into the main event. Build your tattoo around it so it becomes the focus.
Often used for symbols or shapes that hold meaning. This works well with circles or bold icons.
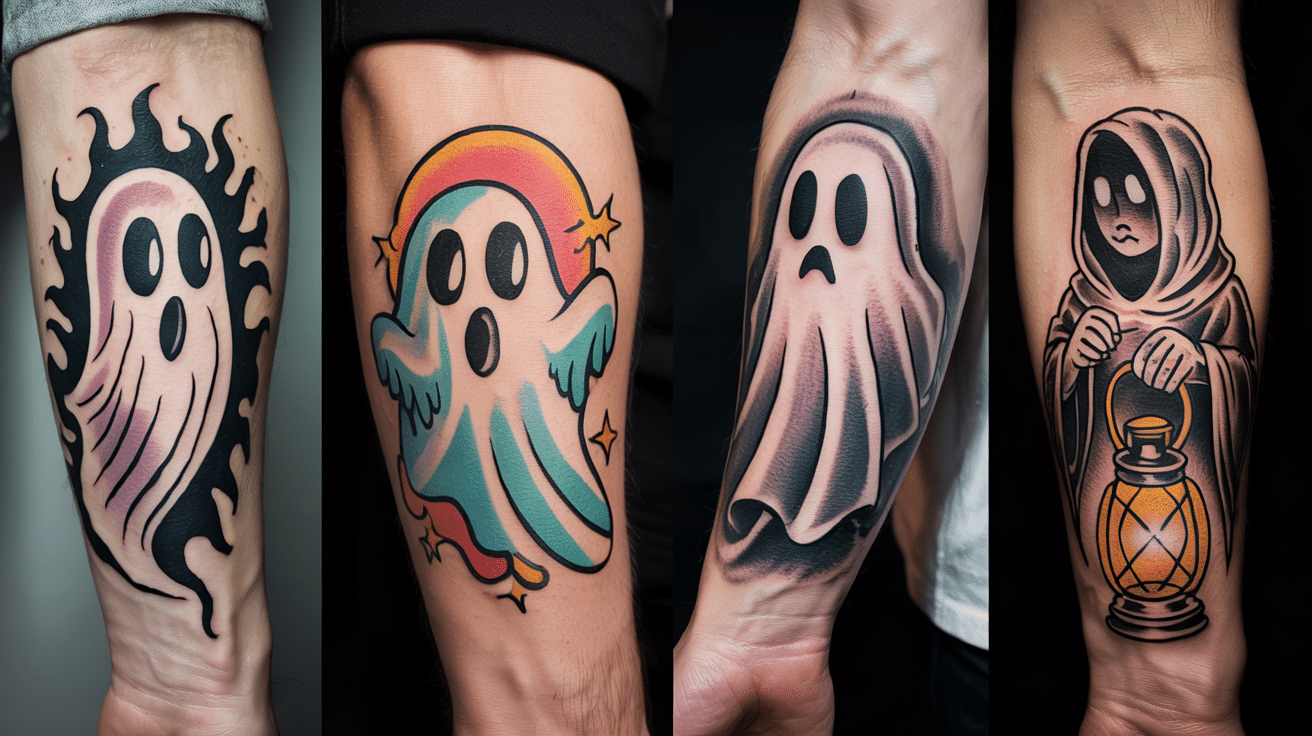
32. Traditional Flash Style

This old-school style uses bold lines and strong color. Works well if you want something classic and timeless.
Artists often have flash sheets ready to pick from. These designs are fast, bold, and built to last.
33. Symmetrical or Asymmetrical
You can match both legs or mix up designs. This gives you balance or freedom, depending on your style.
It’s a personal choice that can reflect how you like your ink to feel. Either way, it helps your tattoos stay balanced overall.
Planning Your Tattoo Design
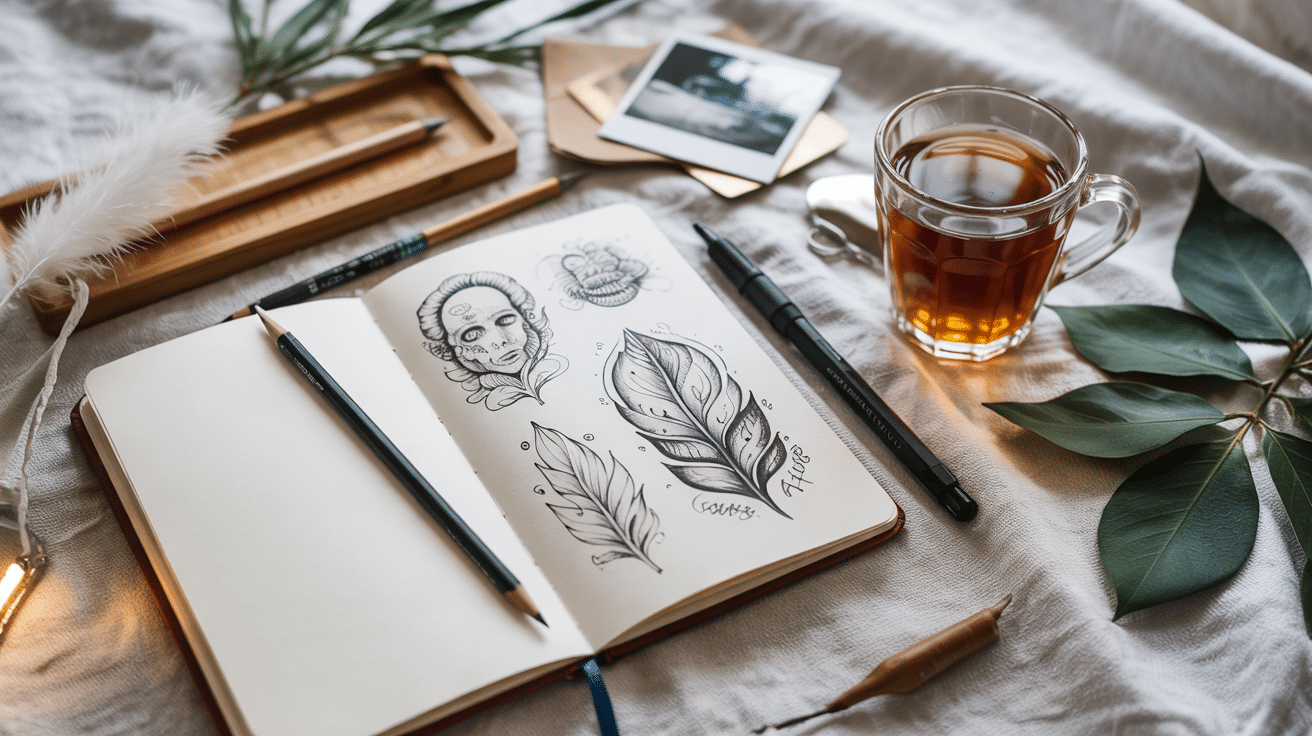
Choosing the right design takes a little time, but it’s worth the effort. It helps you feel sure about what you’re putting on your body.
- Look through books, online photos, or artist galleries to get ideas that speak to you.
- Save or print a few designs that catch your eye so you can compare later.
- Sketch a rough version or write out the idea—it helps you get a better feel for it.
- Ask your artist to show a few drafts before the session so you’re both on the same page.
- Think about whether it holds meaning for you or just feels like a design you’d enjoy.
- Choose a spot that makes sense for your lifestyle, comfort, and visibility needs.
Want more ideas or style tips? Read next: How to Come Up with Tattoo Ideas.
Pain Levels by Leg Area
Pain is different for everyone, but some parts of the leg are more sensitive than others.
Knowing what to expect can help you feel more prepared before your session. It’s better to go in with clear expectations than be caught off guard.
1. Lower Pain Areas
- Outer thigh: This area has more muscle and fat, so it usually feels less sharp.
- Calf: Soft and fleshy, making it one of the easier spots to handle.
2. Medium Pain Areas
- Shin: Closer to the bone, so it can feel more intense at times.
- Front of thigh: Not too bad for most people, but it depends on your skin and size.
3. Higher Pain Areas
- Knee: There’s less padding here, so the feeling can be stronger.
- Inner thigh: This part is sensitive and can be tough for longer sessions.
- Foot: Thin skin and lots of nerves can make this spot feel sharper.
Tips to Manage It
Getting a tattoo on your leg can come with some discomfort, especially in the more sensitive areas.
But with the right steps, you can make the session easier on yourself. These small habits can make a big difference in how you feel during and after the process.
- Drink plenty of water the day before and on the day of your session. Staying hydrated helps your skin stay soft and easier to work with.
- Eat a solid meal before heading in. Food keeps your energy steady and helps avoid lightheadedness during longer sessions.
- Dress in loose, comfortable clothes so your artist can reach the area without trouble. It also keeps pressure off your fresh ink afterward.
- Bring a snack or water if your session runs long. A quick break with something light can keep your energy steady.
- Take deep breaths and relax if the pain builds up. Staying calm helps your body adjust better.
- Don’t be afraid to ask for a short break if you need it. Most artists are used to it and will gladly give you a moment.
- Sleep well the night before so your body feels rested. Tiredness can make the whole process feel harder.
Aftercare and Healing Tips
Getting a tattoo is just the start—how you care for it after matters just as much.
The skin needs time to heal, and proper care helps it look cleaner and last longer. A few small steps early on can prevent issues like dryness, peeling, or fading.
If this is your first tattoo, don’t stress. Keeping things clean, simple, and consistent usually works best.
First 2 Days
- Keep the wrap on (if given)
- Wash gently with mild soap
- Let it dry before applying lotion
After That
- Use a soft, scent-free lotion
- Avoid pools, steam rooms, and direct sun
- Don’t scratch, rub, or pick any scabs
Conclusion
You’ve now seen how many ways there are to make a leg tattoo feel personal and right for you.
From placements and styles to healing tips and design planning, everything was built to give you a clear start.
You’re not left guessing about pain or stuck wondering how to take care of your tattoo afterward.
If something sparked your interest or gave you a better idea of what you want, that’s a good sign you’re on the right track.
Take your time, keep it real, and choose what feels like a good fit.
Want more ideas or style tips? Check out our other tattoo blogs to help you keep going with confidence.