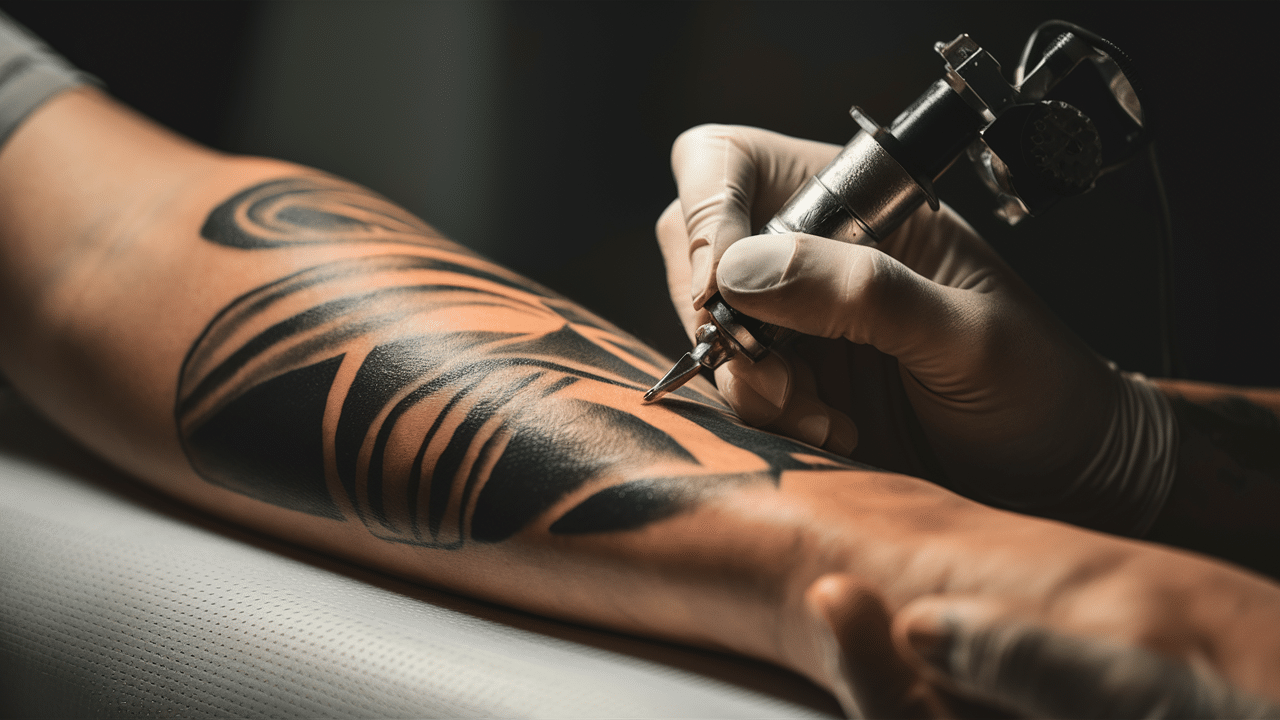
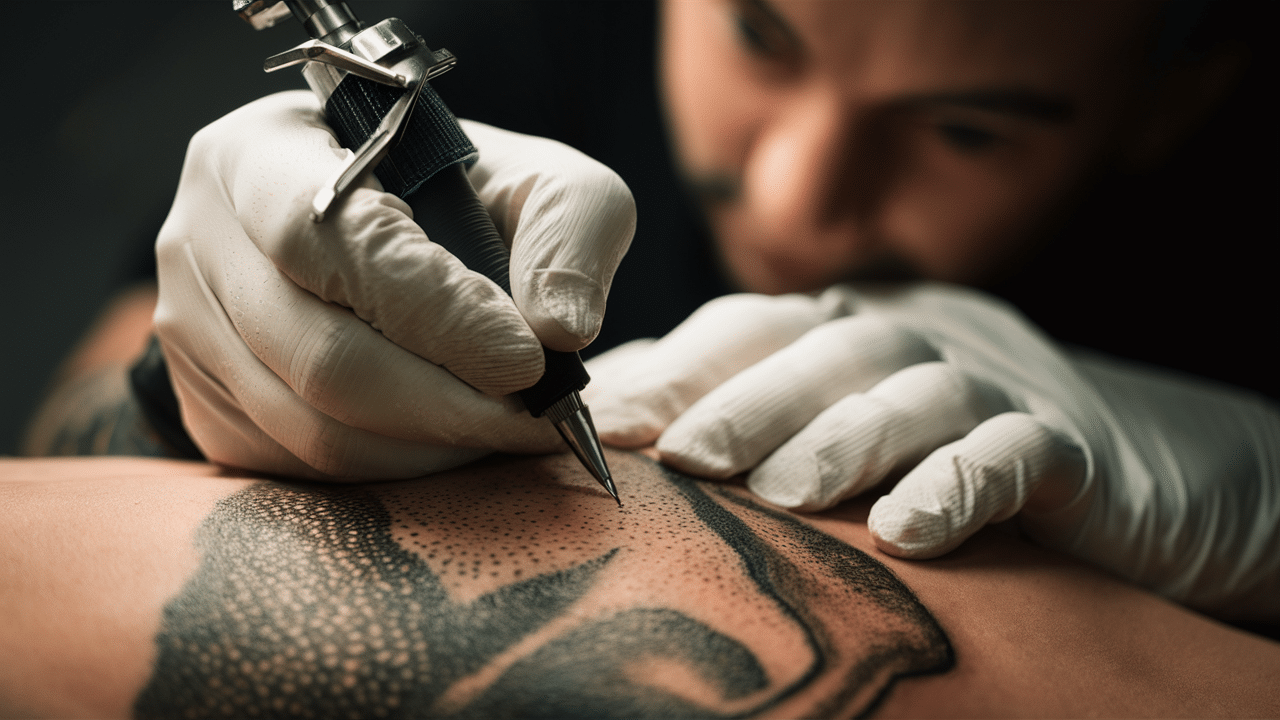
When you sit down to get a tattoo, you want it to look its best. One of the biggest parts of making a tattoo feel alive and real is shading.
Shading adds shape, depth, and smoothness to the art on your skin. Without it, tattoos can seem flat or unfinished.
Learning how to shade takes time, but it’s a skill you can build with the right steps.
In this guide, you’ll find simple tips to help you learn shading techniques. You’ll also see how to fix common mistakes and pick the right tools.
If you’re starting out or trying to get better, this will walk you through what you need to know, one step at a time.
What is Tattoo Shading?
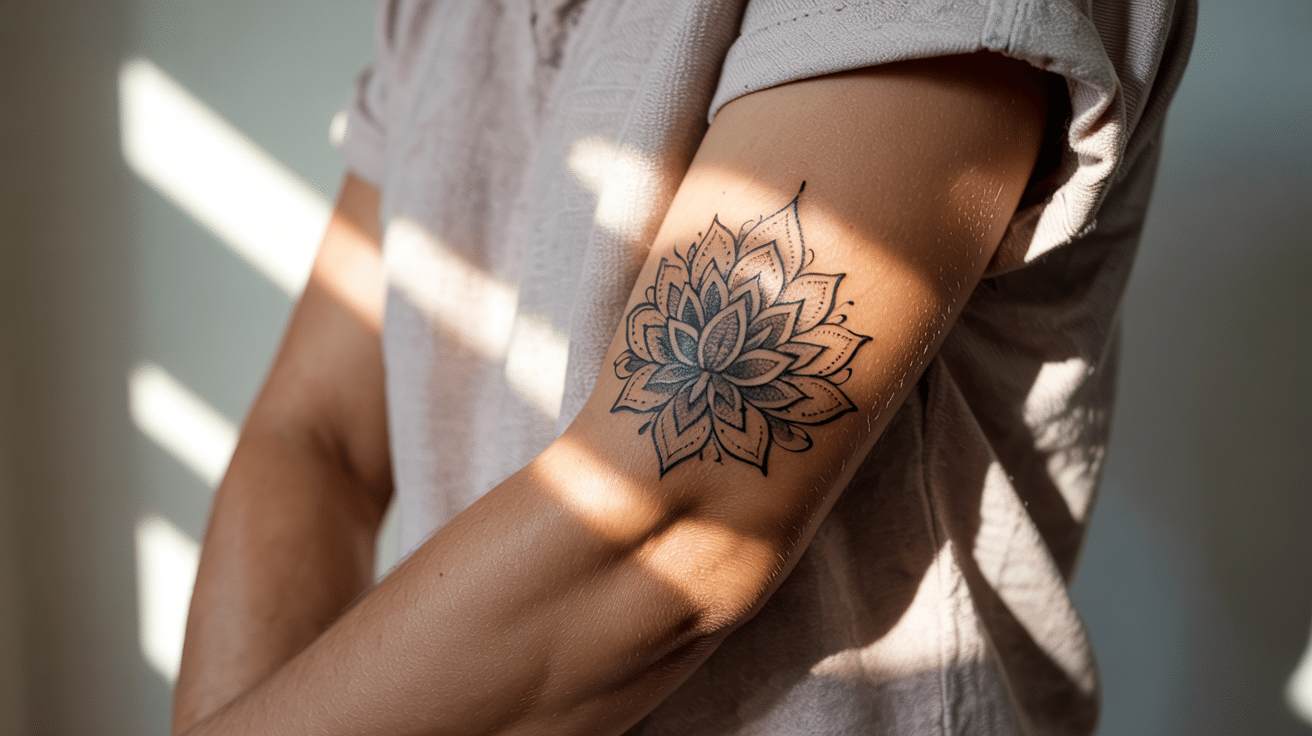
Tattoo shading is the process of using ink to create depth, softness, and flow within a tattoo. It helps bring a flat outline to life by adding layers of light and dark.
These layers can make a tattoo look richer, more natural, and easier on the eyes. Without shading, even the most detailed designs can feel empty or unfinished.
Shading smooths out sharp lines and blends different parts of the design together. It fills open spaces with soft transitions instead of leaving harsh gaps.
Good shading can also shape how a tattoo fits with your body. It can highlight muscles, follow curves, and bring a gentle, realistic feeling to the artwork.
Learning how to shade well is one of the first big steps toward becoming a stronger tattoo artist.
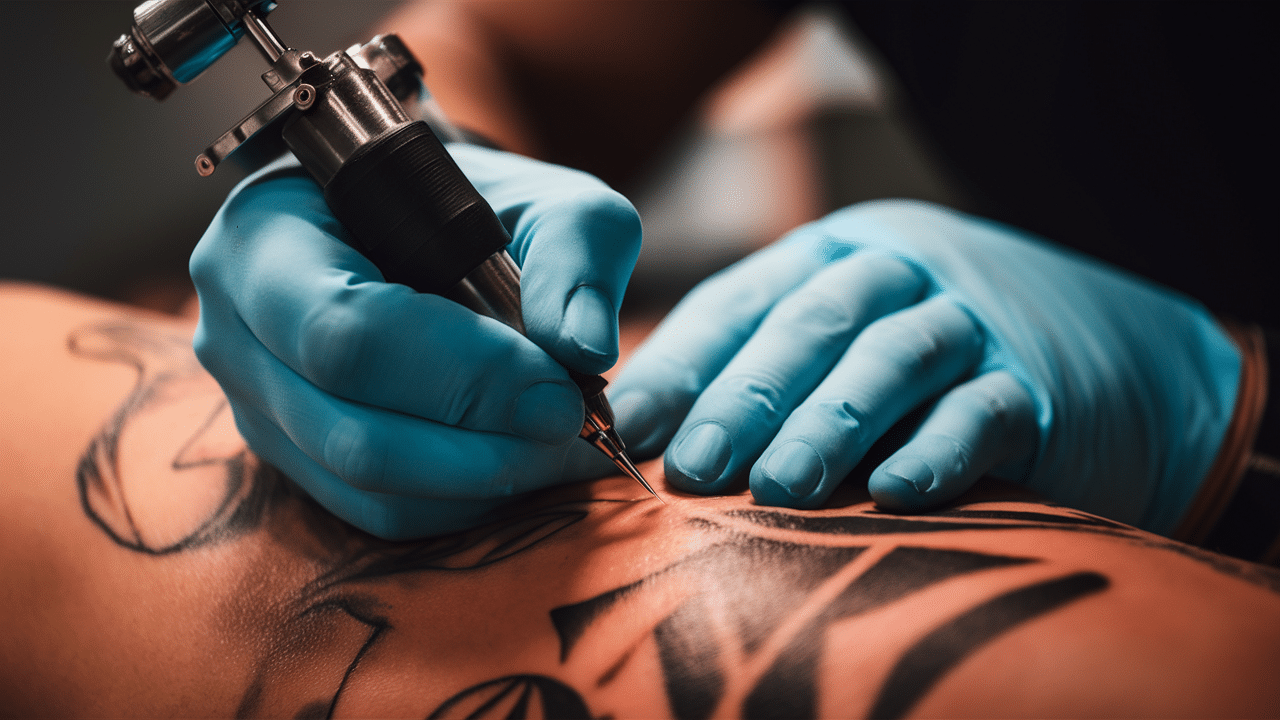
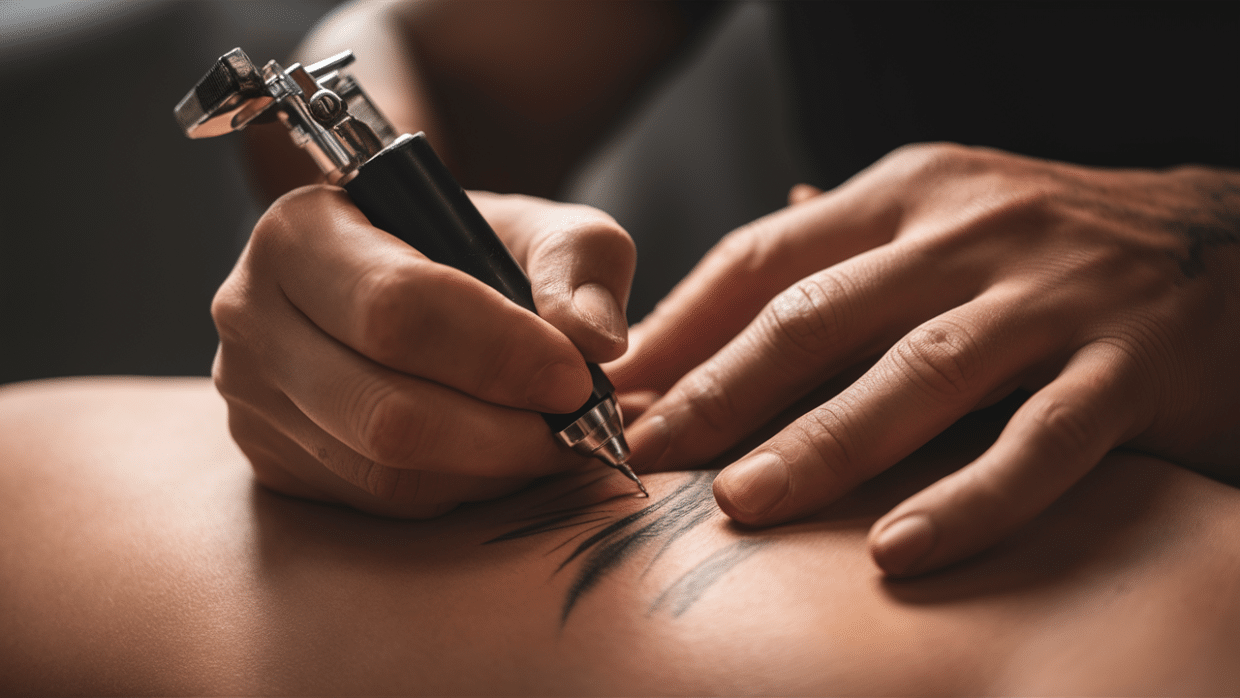
Tattoo Shading Equipment
The equipment you use plays a big role in how your shading turns out. Choosing the right needles, machines, and inks helps you create smooth blends without harming the skin.
A good setup also makes it easier to control your hand speed and pressure while working.
When you understand how each tool works, you can make better choices that match your style and keep your tattoos looking clean and soft over time.
Best Needles for Shading
- M2 Stacked Magnum: Great for bold black fill. Tighter needles, stronger shading.
- M1C Curved Magnum: Good for soft fades, especially in portrait work.
- Round Liners (3RL): Ideal for fine detail and stippling.
- Round Shaders (RS): Useful in tight corners and small areas.
Best Machines for Shading
When picking a machine for shading, the stroke length makes a big difference in how your work turns out.
A machine with a stroke between 3.0mm and 3.5mm is a good choice because it lets you pack the ink without hurting the skin. This stroke range helps you create smooth layers and soft fades without pressing too hard.
It also gives you better control when you need to build up color slowly, like when crosshatching or blending a gray wash.
A shorter stroke helps the needle move in a way that is gentle on the skin, making the healing process cleaner and easier for your client.
Taking time to find a machine that feels steady in your hand can make a big difference in your shading work.
Best Inks for Shading
- Solid Ink: Solid Ink gives you deep, lasting color that holds well during healing.
- Intenze: Intenze flows into the skin easily and helps you build soft, even shading.
- Fusion: Fusion offers a smooth application and blends nicely for light and dark areas.
For dark fill work, many artists prefer Dynamic Triple Black. It helps hide any small uneven spots.
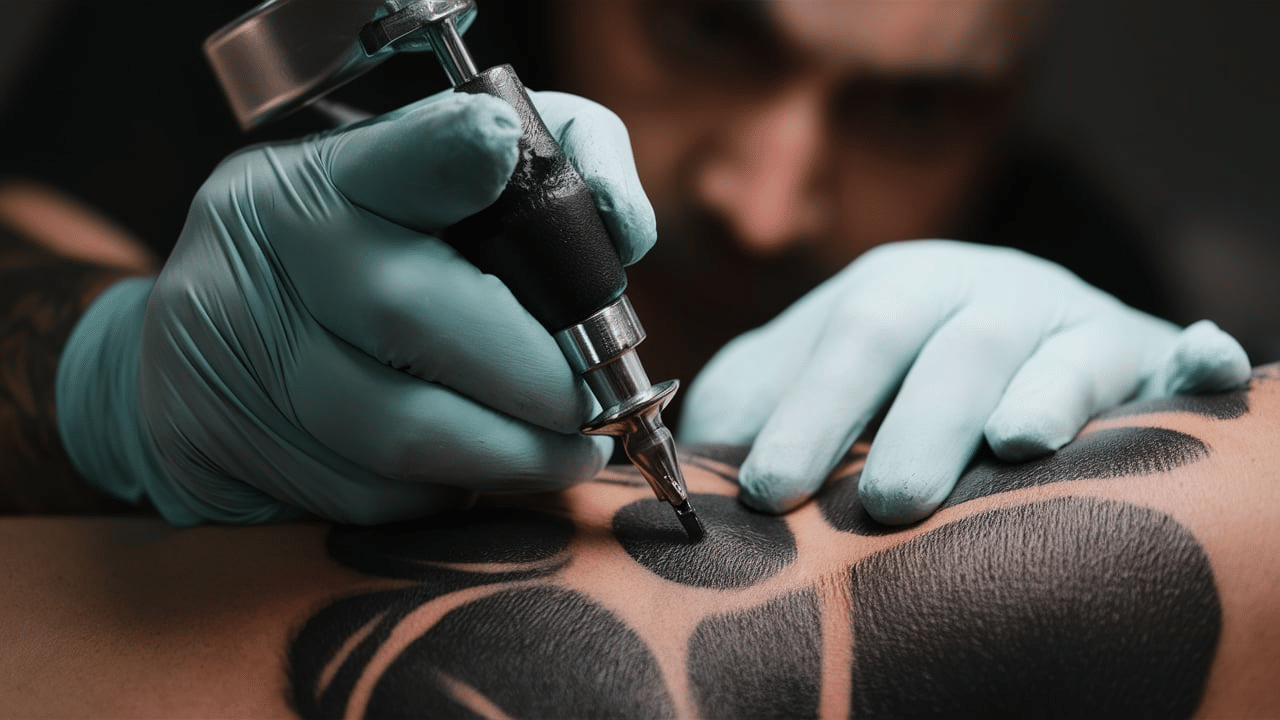
Essential Tattoo Shading Techniques
Tattoo artists often use five basic shading methods. Each one creates a different effect on the skin.
1. Packing
Packing is a shading method you use when you need deep, solid color in a tattoo.
You move the machine in small oval or circular motions, pressing ink into the skin slowly and carefully.
This allows you to build an area with even, strong black without any light spots showing through.
It’s important to keep your hand steady and slow because rushing can leave gaps.
This method works best when you want a tattoo to have bold shapes or large filled areas, like in tribal designs or dark backgrounds.
Remember to stretch the skin properly while packing. This gives you a smoother surface to work on and helps the ink settle well.
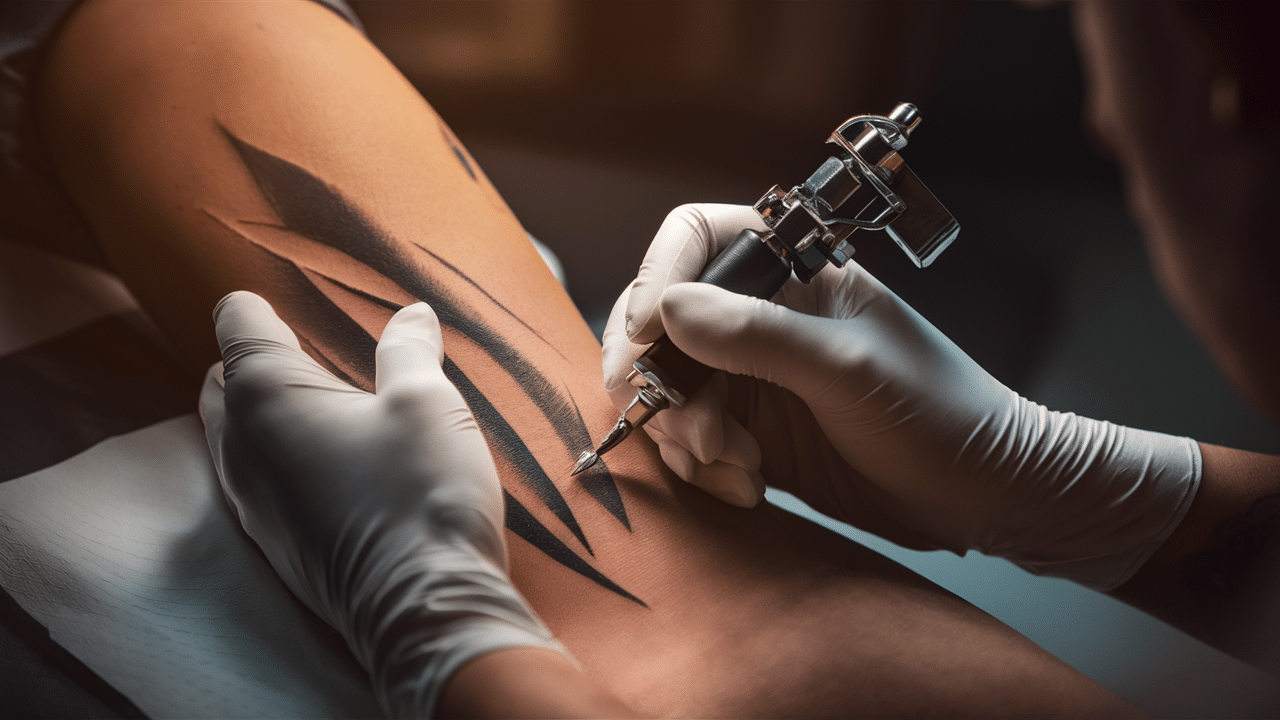
2. Whip Shading
Whip shading is used when you want to create a smooth fade from dark to light. You start by touching the needle to the skin, dragging it gently, then lifting and flicking away at an angle.
This motion naturally spreads the ink so that it is darkest where you begin and lighter where you end.
This technique is great for building up soft shadows, backgrounds, and smooth blends between areas. Keeping your wrist loose while moving the machine will help your shading stay even.
Practice different flick lengths to control how far the fade stretches across the skin.
3. Pendulum Shading
Pendulum shading uses a back-and-forth swinging motion, much like how a pendulum would move.
As you swing the needle from side to side, you press slightly more ink into the center of the movement and lighten your pressure at the edges.
This creates a natural gradient, darker in the middle and softer on both sides.
This method is useful for areas that need a very smooth and even fade. It also works well when you need to shade larger spaces with a natural flow.
Make sure your swings overlap just a little to avoid striping or missing spots in your shading.
4. Stipple Shading
Stipple shading is a method where you create shading by tapping tiny dots into the skin.
Instead of dragging the needle, you tap it lightly and repeatedly, building up texture with little points of ink.
The closer the dots, the darker the area will look. The farther apart they are, the lighter it appears.
This style is often used for tattoos that need a textured or grainy look, such as skulls, rocks, or other detailed designs.
It takes patience and control because every dot matters. Slow, even tapping, and good hand control will help you master this technique.
5. Brush Shading
Brush shading is a very light, sweeping motion used to create soft finishes at the edges of a shaded area.
You move the machine gently over the skin without much pressure, almost brushing across the surface. This gives you a feathery fade that melts into the skin naturally.
Brush shading is useful when you want the tattoo to fade into bare skin without a hard line.
It works especially well around faces, flowers, or any design that needs a gentle touch.
Keeping your hand relaxed and moving in a loose, even motion is the key to getting a clean look with brush shading.
Steps to Master Tattoo Shading
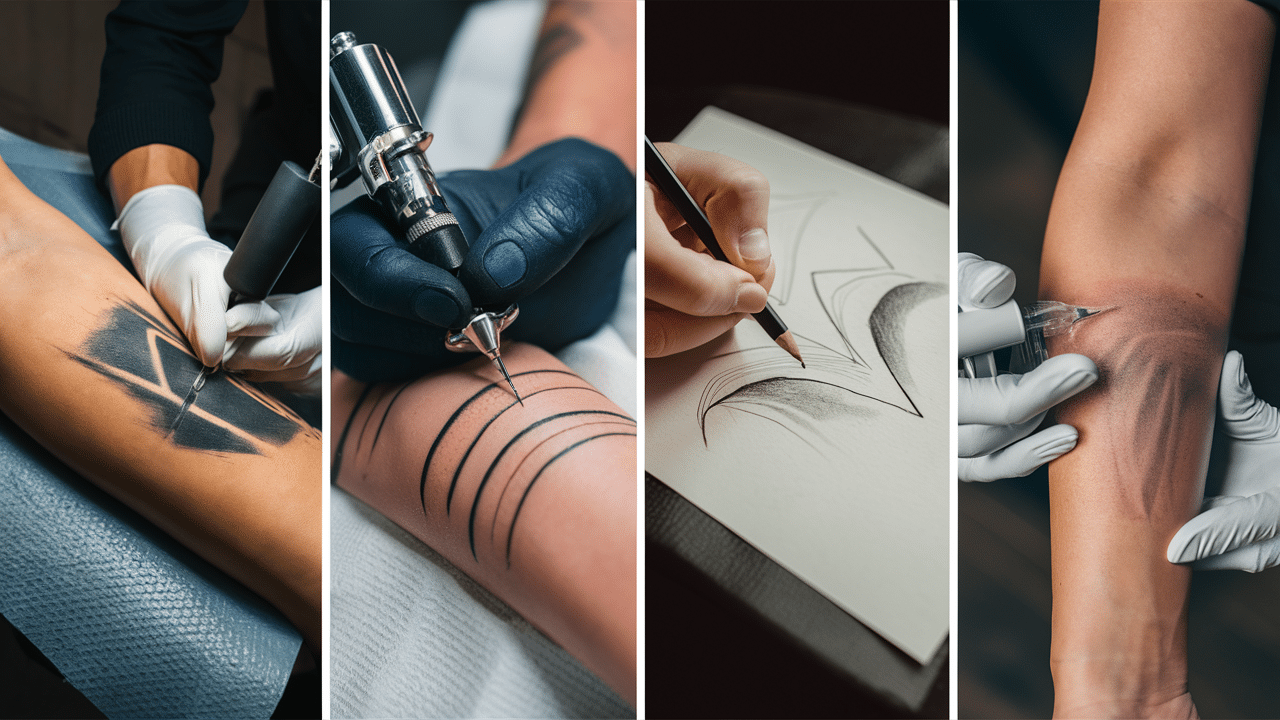
Step 1: Start with Quality Fake Skin
Pick fake skin like ReelSkin or Pound of Flesh for your early practice.
These materials hold ink well and help you get a real feel for shading.
Step 2: Practice Shading Techniques Slowly
Work on packing, whip shading, and pendulum shading with a steady hand.
Take your time and focus on small sections to build clean, smooth blends.
Step 3: Train Your Eye with Pencil Sketches
Practice shading on paper by drawing circles, roses, or simple shapes.
This helps you understand how to move from dark to light in your tattoos.
Step 4: Move to Real Skin Carefully
When you switch to real skin, expect it to feel different and react more.
Go slow, check your work often, and keep your machine pressure gentle.
Common Tattoo Shading Mistakes
When you are learning to shade, it’s normal to make mistakes. Here are some to watch out for:
-
Overworking the Skin: Pressing the needle too many times in the same spot can hurt the skin. It might leave it looking red or cause slow healing. Let your ink build up slowly with light layers instead of pushing hard.
-
Moving Too Fast: If you move the machine too quickly, the ink will not settle well. Slow your hand speed down and let the pigment set into the skin properly. Keeping a steady, calm rhythm will give you a smoother look.
-
Incorrect Needle Angling: Holding your needle too flat can scrape the skin instead of shading it. Keep the machine at the correct angle, especially with magnum needles. A clean angle helps the ink go in gently and evenly.
-
Underestimating Gray Wash Fading: Fresh black and gray tattoos look darker at first. After healing, they can lighten by about 30 percent. When shading, go slightly darker than what you think looks right to balance it later.
-
Check Your Shading Often: Use a soft paper towel to blot the skin gently as you work. This helps you spot any missed patches early. Always compare the tone across the area before moving forward.
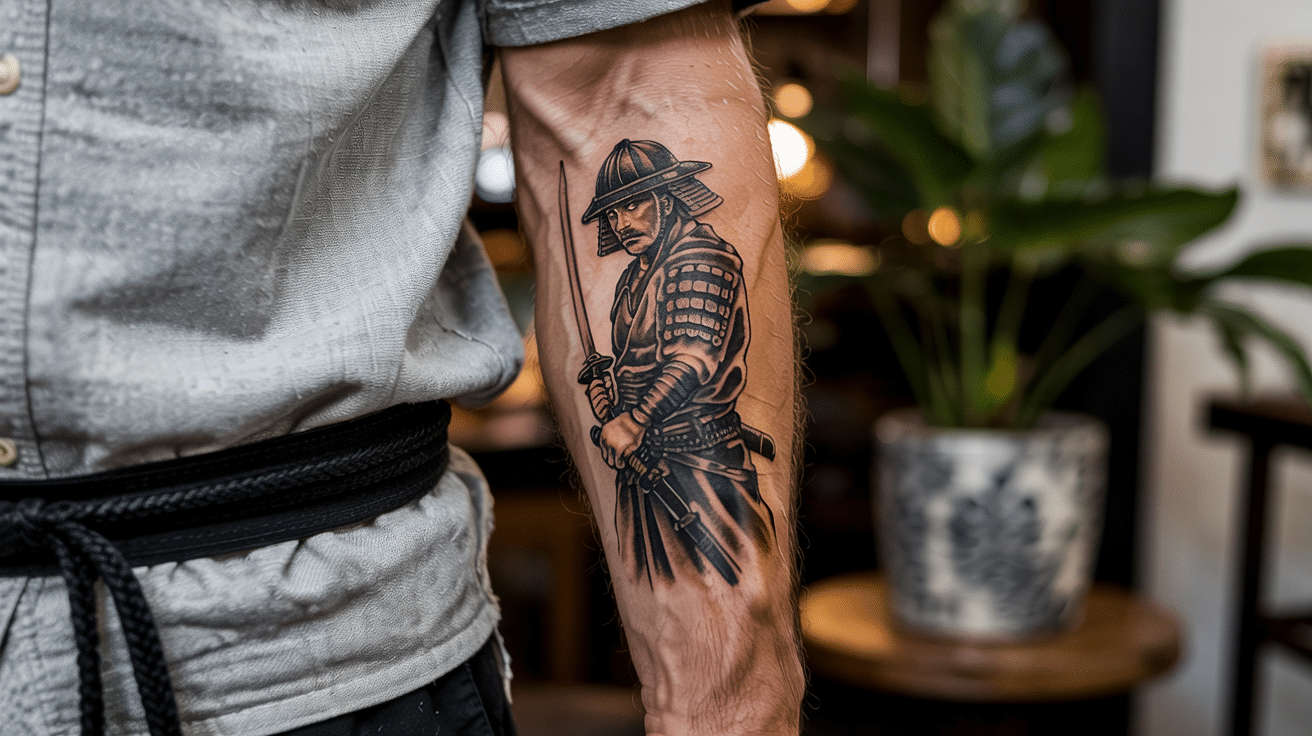
Want to practice your shading on something symbolic and bold? Read here: King and Queen Tattoos.
Conclusion
Learning how to shade a tattoo can feel like a big step, but you don’t have to rush.
You’ve seen the different techniques, how to fix common mistakes, and the tools that make a real difference. Each small improvement you make builds stronger skills that last over time.
Taking the time to practice and understand these basics will set you apart as an artist. It’s not about being perfect from the start — it’s about growing with each try.
If you’re ready to keep building your skills, check out our other blogs for more ideas, shading tips, and practice advice. There’s always something simple and helpful waiting for you to learn.